How to Prepare a Garden Bed and Plant Seeds
Spring is here! Learn how to prepare a garden bed and plant seeds with community garden staff. In this video, we’re planting carrots at the Providence Garden. Watch the video or read the steps outlined below.
1. Break ground
Use a digging fork (or potato fork or broad fork) to loosen the soil and pull weeds from the bed. This action loosens the soil and helps to bring air and moisture down into the soil, which helps create a nice soft bed for our baby plants and their tender roots.
2. Add Manure or Compost
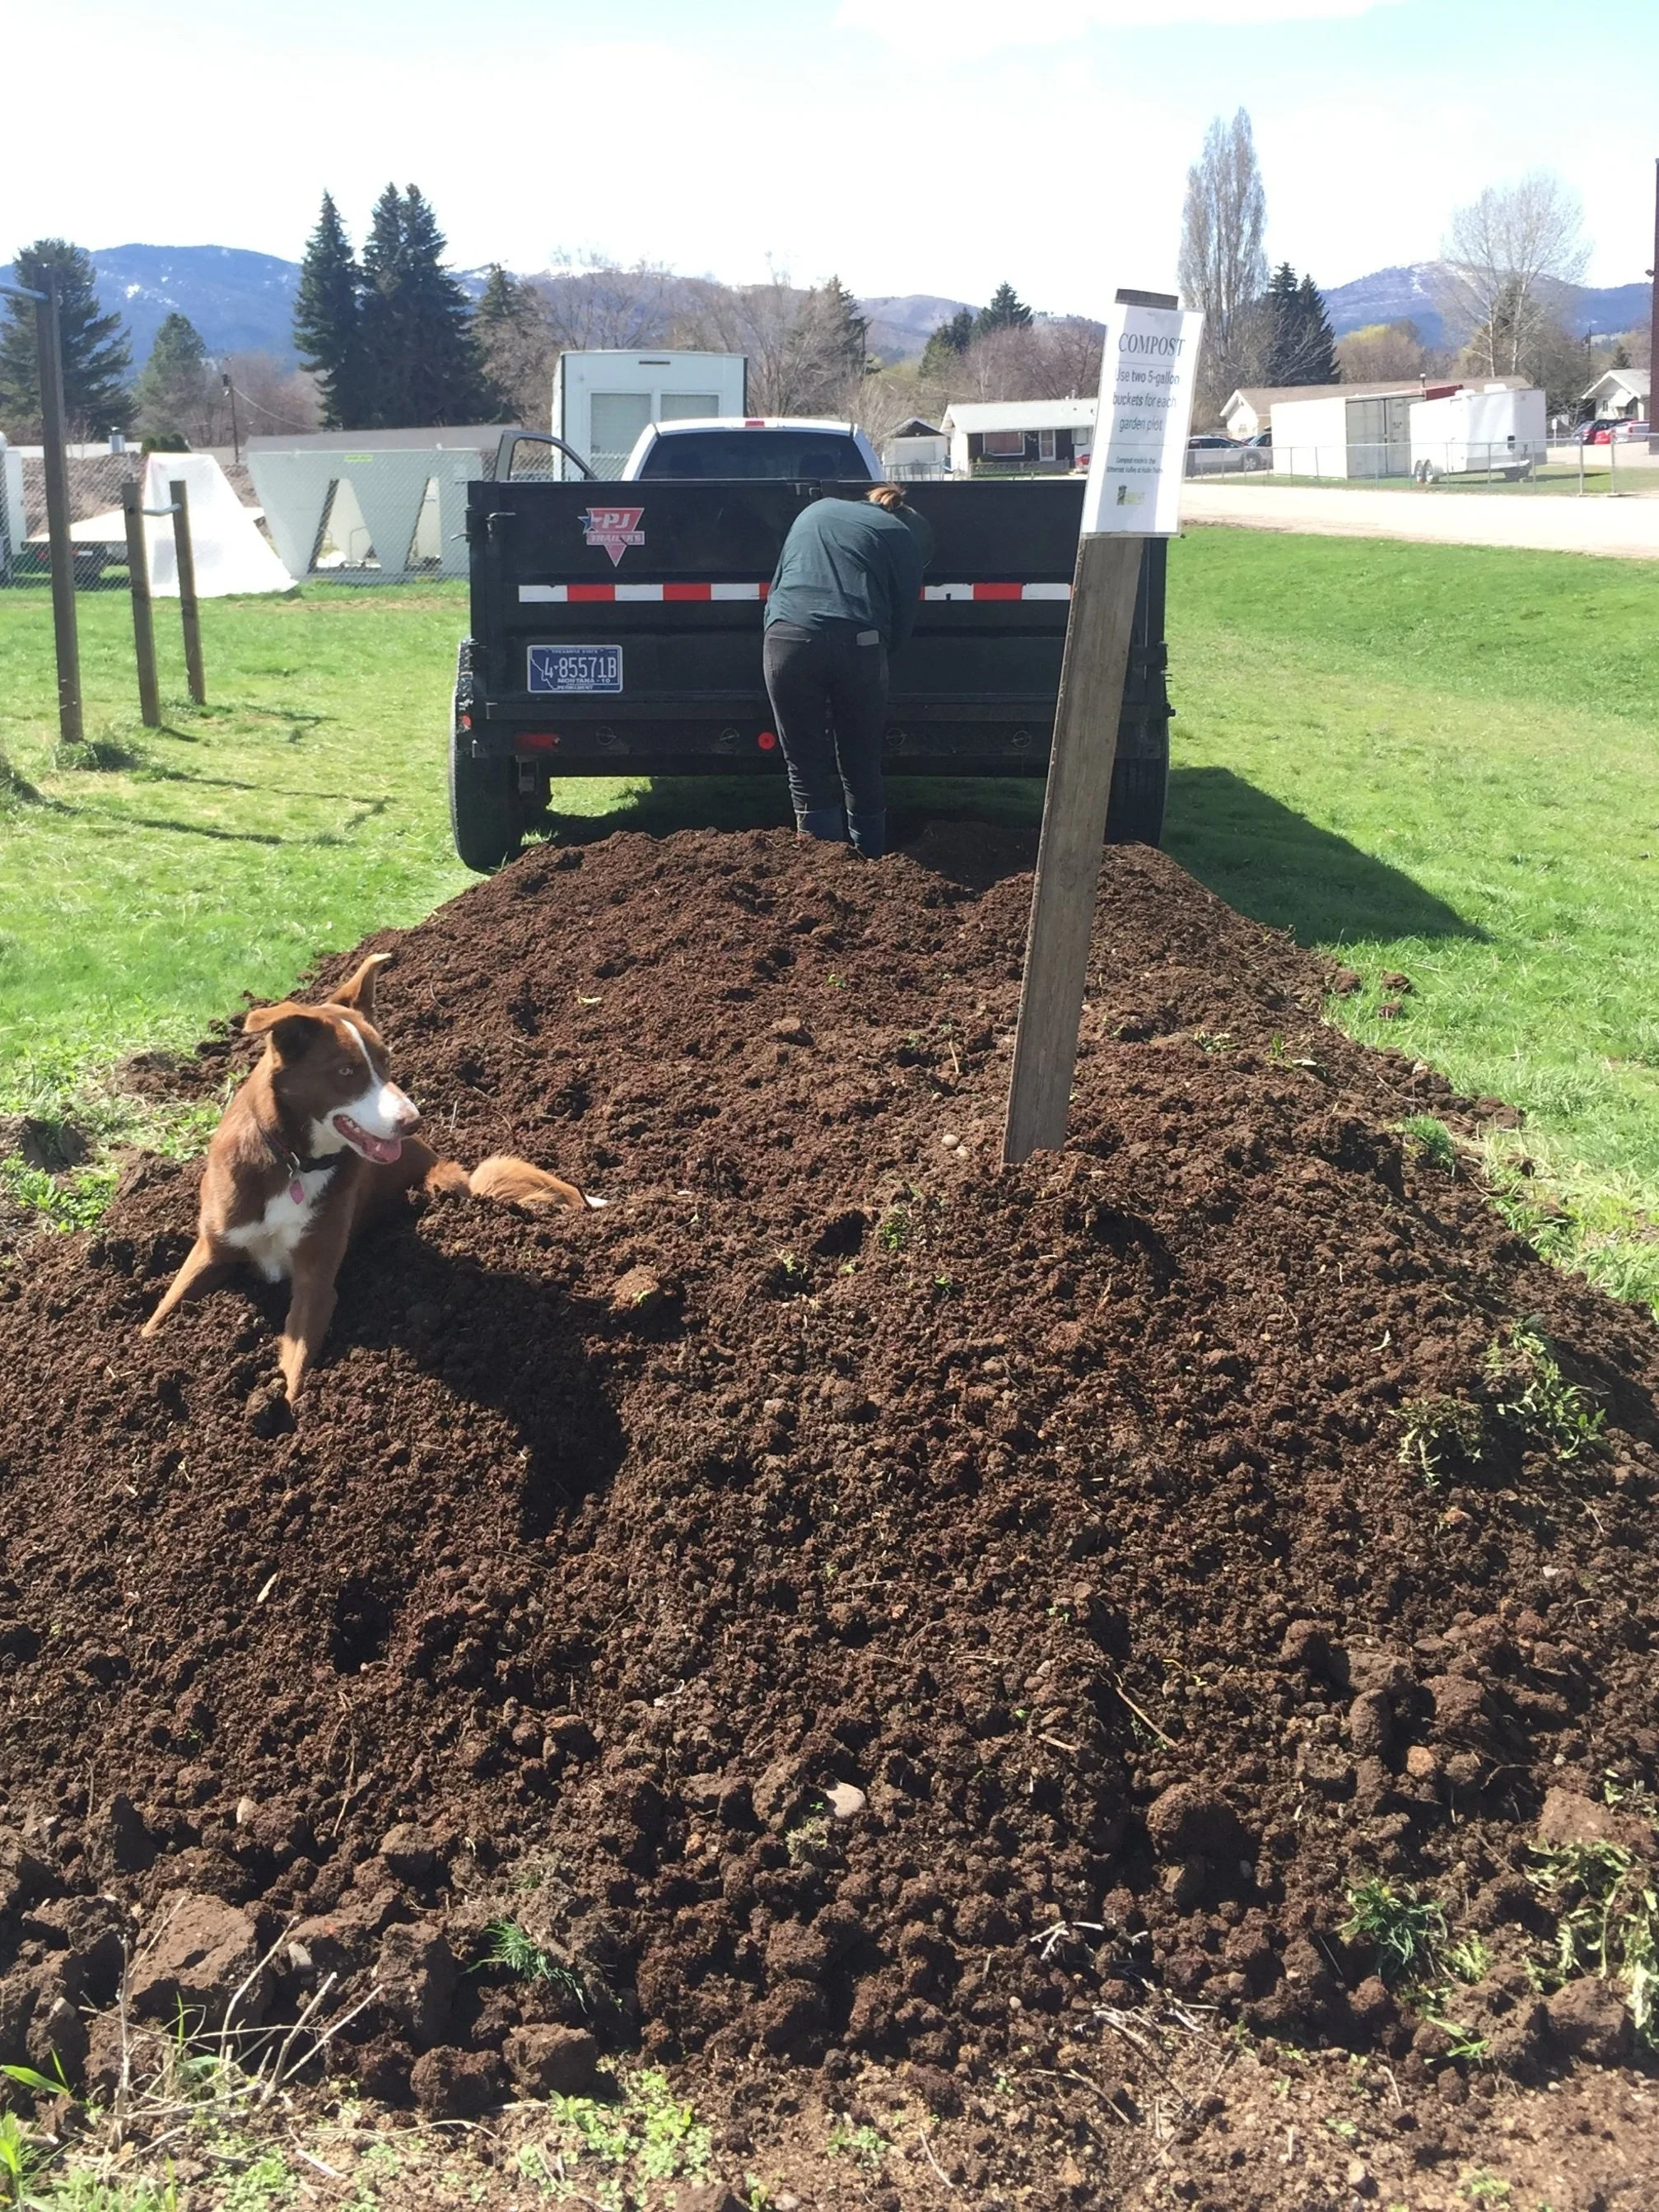
In this video we used aged cow manure, but you can use any other herbivore manure or compost. This should be done annually, in the spring or fall, before planting to replace nitrogen and other nutrients in the soil. Most annual vegetables and flowers are heavy feeders, so that’s why it’s important to replenish the soil each year with manure or compost.
The amount of manure or compost one needs really depends on the existing soil and site. Generally, we recommend spreading a 1/4 inch - 3/4 inch of manure on your planting bed. Because compost is more well-balanced than manure, you can generally add more compost than manure without burning your plants.
Garden City Harvest delivers aged manure to all community garden sites. We recommend no more than two 5-gallon buckets of manure per plot. If you’re gardening at home, check your local garden nursery, Garden City Compost, or Soil Cycle for compost or manure to purchase.
What’s the Difference between Manure and Compost?
Manure
Manure is decomposed herbivore waste from cows, llamas, pigs, chickens, or even worms. These animals’ digestive tracks do the amazing work of breaking down grass and organic matter. The result is a product that is high in nitrogen and therefore a great soil amendment for our heavy feeding crops.

Compost
Compost is made from decomposed organic material like food scraps, straw, leaves or other plant matter. Microorganisms do the amazing work of breaking down the organic material. Compost is also rich in essential nutrients for plants, but unlike manure, it contains thousands of living organisms that not only replenish soil but also help build healthy soil ecosystems.
3. Shape & smooth Planting Bed
Using a hard rake or hoe, chop up big clumps of manure and soil and begin to shape your planting bed. This will also help incorporate the manure or compost into the soil. I recommend shaping your planting area into a small mesa, which has sloped sides and a smooth flat top.
Make sure to smooth and level the surface of your planting bed as best as possible. Remove large rocks (bigger than a golf ball) and break up big clumps that could get in the way of an emerging seedling. Keep in mind that the smaller the seed size, the smoother and more perfect the bed needs to be. Bigger seeds, like peas or beans and greenhouse starts, can handle more clumps than tiny seeds like the carrots we planted or lettuce seeds. Also, minimize low spots or drastic slopes to ensure equal coverage when watering and to help keep the water on the bed instead of running off into your pathways.
4. plant seeds
Always check the recommended seed spacing and depth and mark in your bed where you will plant. This will vary for each crop. We like to use the handle end of a shovel or a rake to draw a line in the soil. This makes a small trough for placing seeds and helps us keep our rows somewhat straight. Luckily, it’s gardening and not construction!
Make sure to cover your seeds with soil to the recommended depth. You can do this by hand or with the backside of a hard rake.
5. Water & Wait
Always water your seeds or starts immediately after planting. Seeds need to be kept moist to germinate (not soggy though because that will cause them to rot). Germination is the development of a plant from a seed, so essentially when your seed sprouts! Germination times vary for each crop and soil temperature can affect germination rates. Generally, cooler soil temperatures will delay seed germination.
When watering, think about where your seed is in the soil and water to that depth. Our peas are about 1/2” deep, so we are going to water to that depth until they germinate and start growing. Following as the plant grows, water to the depth of the roots, which will continue to change and deepen until the plant is at mature size. Keep in mind that the top few inches of soil dry out first, so you’ll need to water your seeds every day or every other day, depending on the weather.
Other tips
Some plants like peas will need trellising, so don’t forget to provide trellising when the plants are small. With peas and beans, it’s easiest to set trellising before planting the seeds. With tomatoes, it’s best to provide tomato cages or trellising soon after planting the tomato start.