Second Street Community Garden Orientation
Hello and welcome to Second Street Community Garden!
This little garden has been lovingly tended as one of Missoula’s original community gardens, established in 2006. (For information on our 11 other community garden sites, click here.) Please read all of the important information below and watch the virtual video tour (link below), so you are familiar with your garden’s amenities and resources. We hope that with an understanding of all the pieces that make up this garden site, you will help us care for it and keep it functioning and thriving for the benefit of everyone.
Important Housekeeping Items:
Always close the gate when you leave to keep deer and dogs out.
Always lock the shed and double check the lock when leaving the garden (spin the numbers and give it a little yank to make sure it is indeed locked),
Communicate with your garden neighbors! Here is the link to Second Street’s private gardener Facbook group. This is a great way to communicate with fellow gardeners and stay up to date with other happenings or updates in the garden.
For issues or inquiries, contact the Community Garden Staff or the Second Street Leadership Committee (contact info in the shed).
Hoses and Watering
Spigots and garden hoses are distributed throughout the garden around the edge of the plots. These are communal and shared among all gardeners. When done with the hose, please coil it up, so it is not a tripping hazard. Also, release the water pressure in the hose by opening the hose nozzle after turning off the water at the spigot. This will help our hoses last longer because water that sits in a hose will expand in the heat and cause the hose material to break down faster.
To turn the water on at the garden site, find the blue frost free spigot in the far southwest corner of the garden. Lift the handle to turn on the water and then go to the hose and turn on the water at the hose bib. Always remember to turn off the water at the blue frost free spigot when done.
GARDEN SHED AND COMMUNAL TOOLS
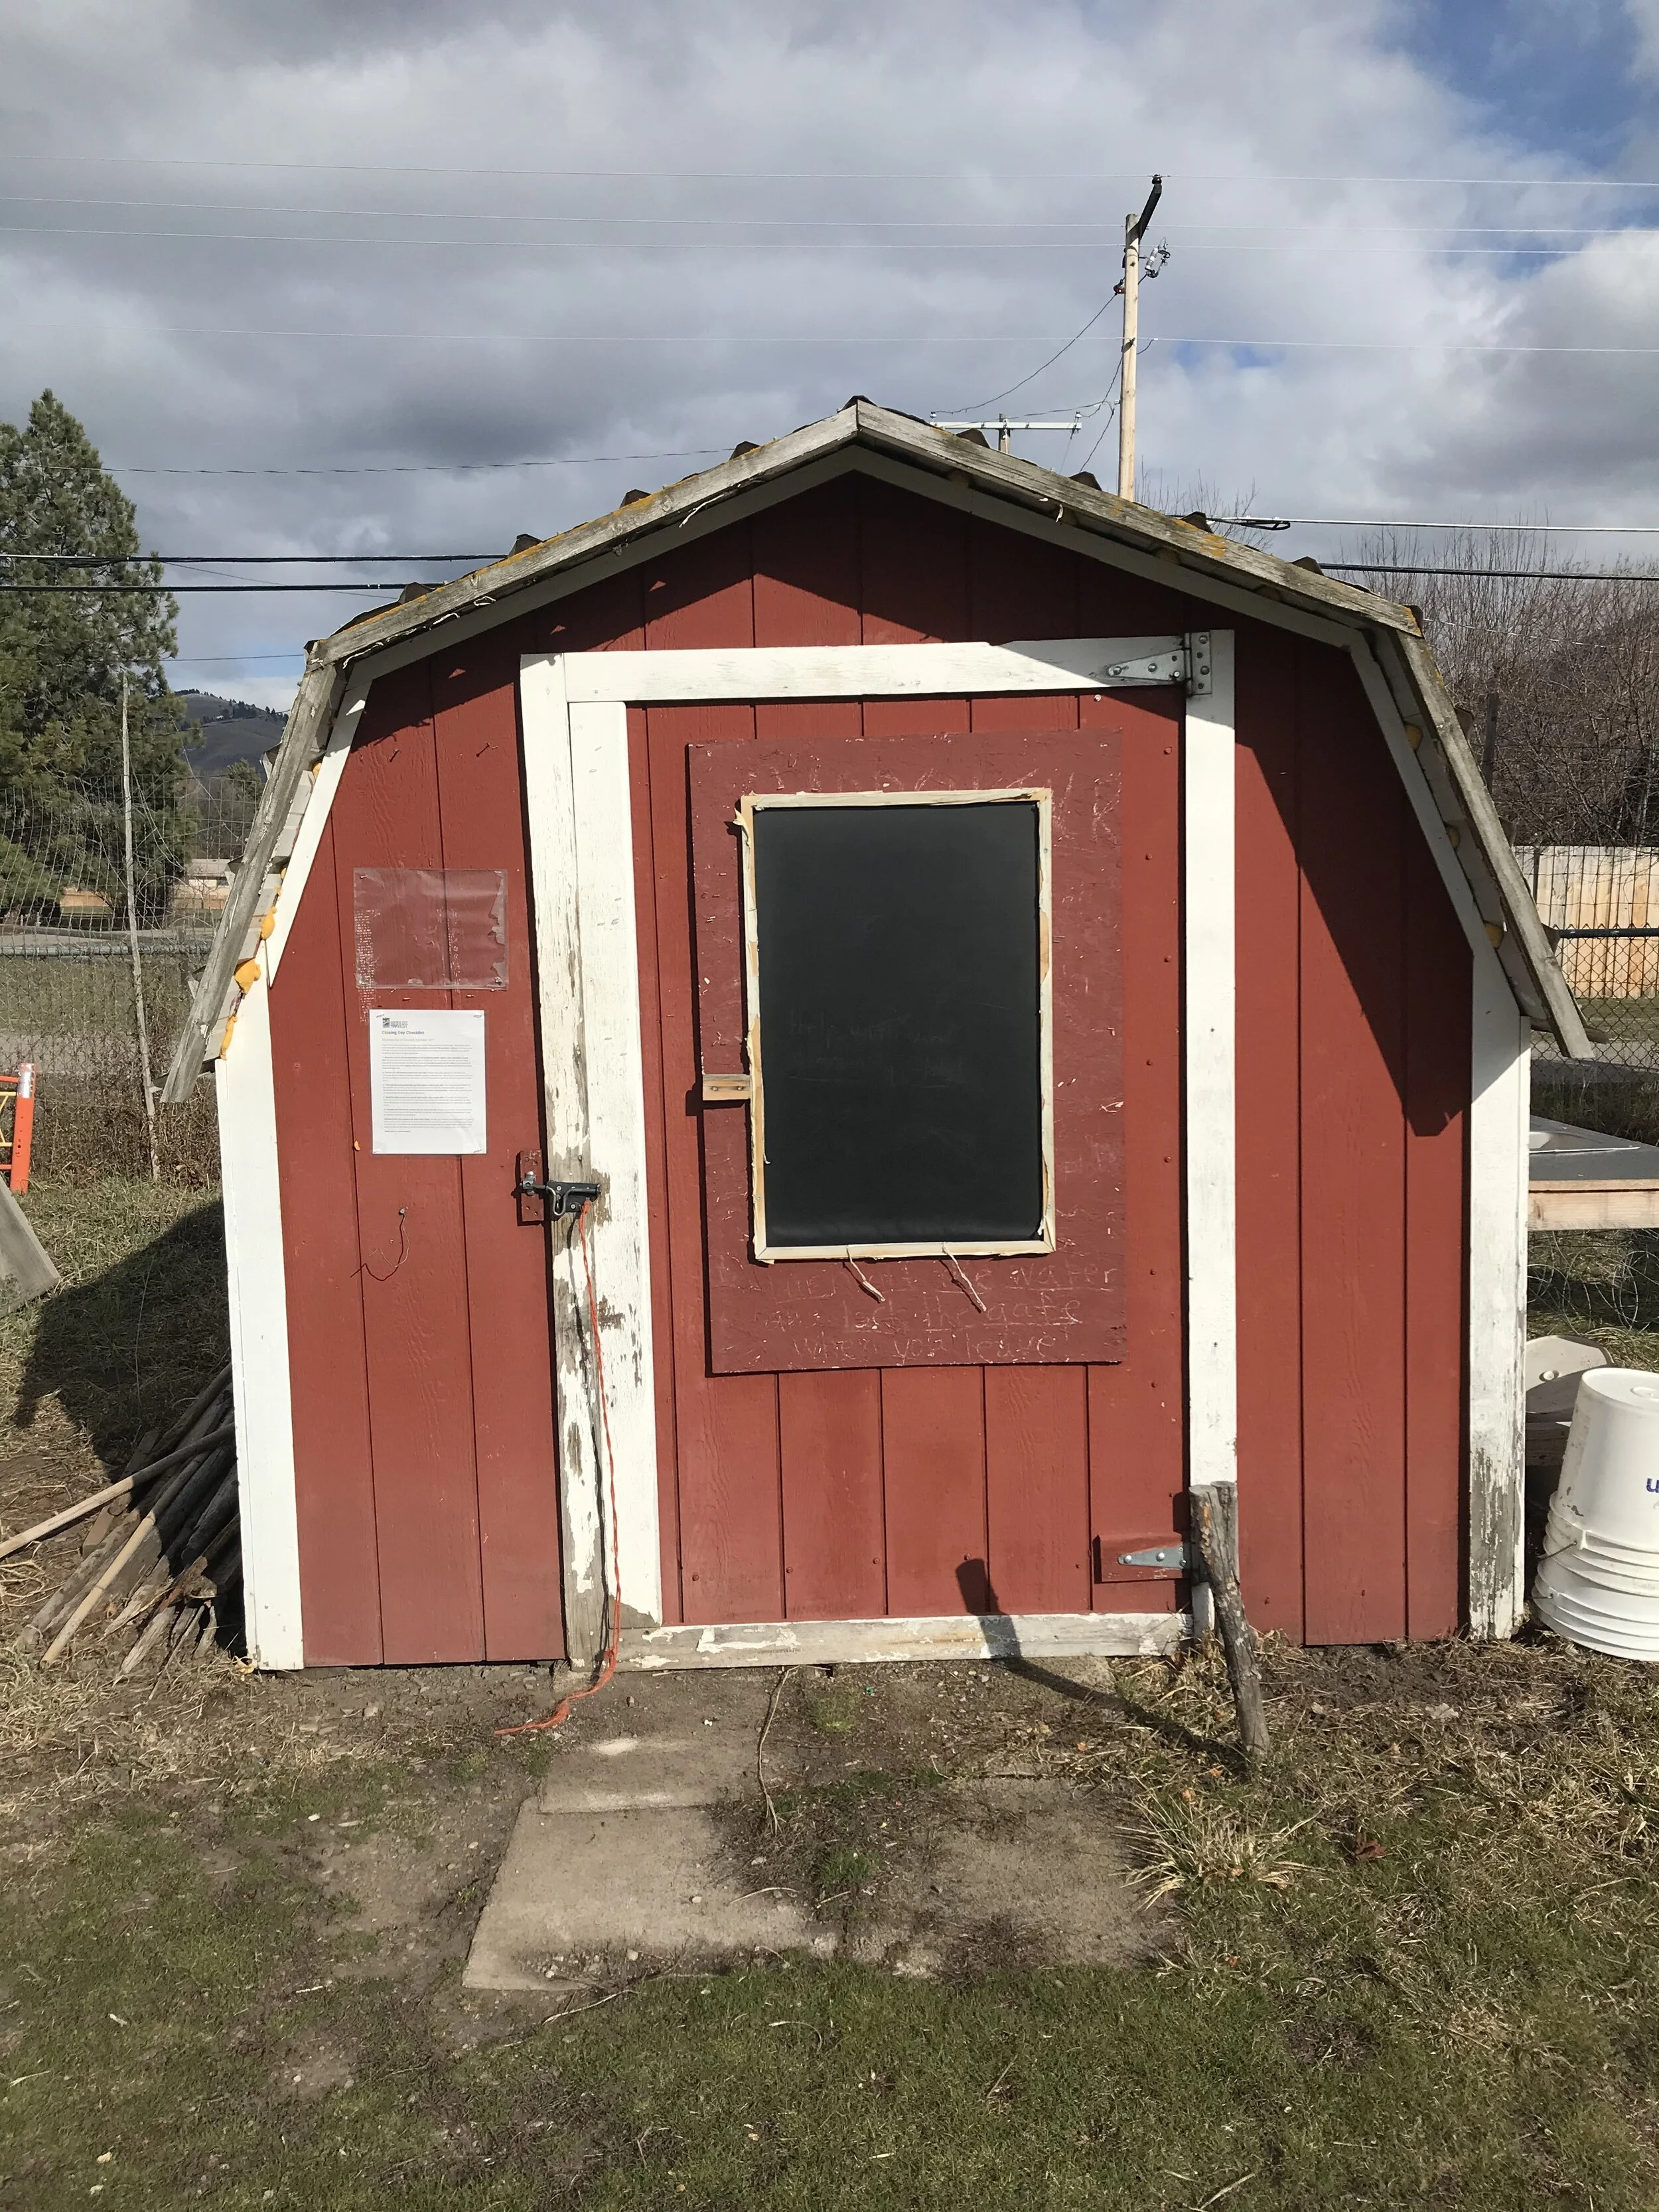
Upon entering the garden, one of the first things you’ll notice is the red garden shed. The shed’s combination is in the orientation email you just received. Inside the shed you’ll find communal garden tools, message boards, and hoses for your use at the garden. On the door of the shed is the contact information for Garden City Harvest staff and your garden’s leadership committee (The leadership committee are amazing fellow gardeners who volunteer their time to help you and Garden City Harvest staff). A first aid kit, important safety information, and other documents will be inside the shed too.
Here, you’ll also find resources on gardening, a recipe card box to log your three service hours, and free seeds.
Remember, all gardeners are required to contribute at least three hours helping to maintain the greater community garden and communal areas.
Make sure to read the “Communal Areas” section at the bottom of the blog for ideas on how to fill these hours…
Soil amendments
Compost
This garden has a “house” compost system next to the shed. This is for vegetable scraps from your garden and kitchen. DO NOT ADD WEEDS, FIBROUS PLANT STALKS, ANIMAL PRODUCTS, PAPER PRODUCTS, TRASH OR COMMERCIAL-GRADE COMPOSTABLE ITEMS. These items will not break down in our simple bin system.
All inputs start at the farthest left bin and are turned (moved with a digging fork or shovel) to the next bin as they break down to make room for fresh scraps! The decomposed compost in the farthest right bin is good to use in your garden - help yourself! Keep in mind, this compost system doesn’t break down on its own. It requires time, water, and attention. If the compost starts to smell, it either doesn't have enough carbon (straw) or it needs to be turned (which gives it oxygen and reduces the smell). During the hot summer months, the compost needs to be watered frequently (every day or every other day.)
Manure
Garden City Harvest brings in composted manure every spring for community gardeners to help supplement their garden soil. Each garden plot is allotted two 5-gallon buckets of manure each spring. Gardeners are also encouraged to build their own soil by bringing in other amendments as long as it doesn’t have chemicals or biosolids (treated sewage). Check out our Sustainable Growing Guidelines for more information.
Straw
We recommend you use straw only for mulching garlic and overwintering crops. Leaves are also a great mulch for your overwintering soil. Straw can be found at Ace Hardware, Murdochs, CHS Mountain West Co-op, and local nurseries. Please place used straw that you rake off your plot next to the compost bins to be mixed in with the vegetable scraps.
WEED PILE
Weeds must be separated from other garden waste and placed in designated weed pile outside the garden gate, near the alley and corner of 2nd Street. DO NOT put weeds in the house compost system! Stalky plants (i.e. sunflower, kale or brussels sprout stalks that take a long time to decompose) also go in the designated weed pile.
Please take the time to separate your house-compostable garden materials from the weeds and stalks, and absolutely no dumping of personal home yard or garden waste is allowed. Do not add straw, soil, potted plants, plastic, leaves or any other yard waste to the weed pile. The weed pile is manually removed by Garden City Harvest staff throughout the season and taken to the City compost facility, and these items make it extremely difficult to move. Garden City Compost may also reject the entire pile.
ROCK PILE
Our garden soil is full of rocks from glacial Lake Missoula. Please put all rocks that you pull out of your garden plot in the designated rock pile outside the main gate behind the shed. DO NOT THROW ROCKS IN THE PATHWAYS. It can be a hazard to the weed whacker or mower and the person operating it.
COMMUNAL AREAS
There are several other communal areas and resources in the garden that will benefit you and your garden. Additionally, Second Street Garden is located on City owned land, so it is important to be respectful tenants and neighbors. Here’s a list of things that all community gardeners are collectively responsible for, so please do your part and chip in those three hours (or more)!

Tool shed: Help us keep it clean and tidy. Occasionally, it will need to be reorganized and swept.
Community berry and herb patches: Located along the west and east fences, you’ll find some raspberries and herbs. There are also strawberries near the blue handled spigot. Help us water and weed these areas, and in turn harvest a handful when ripe!
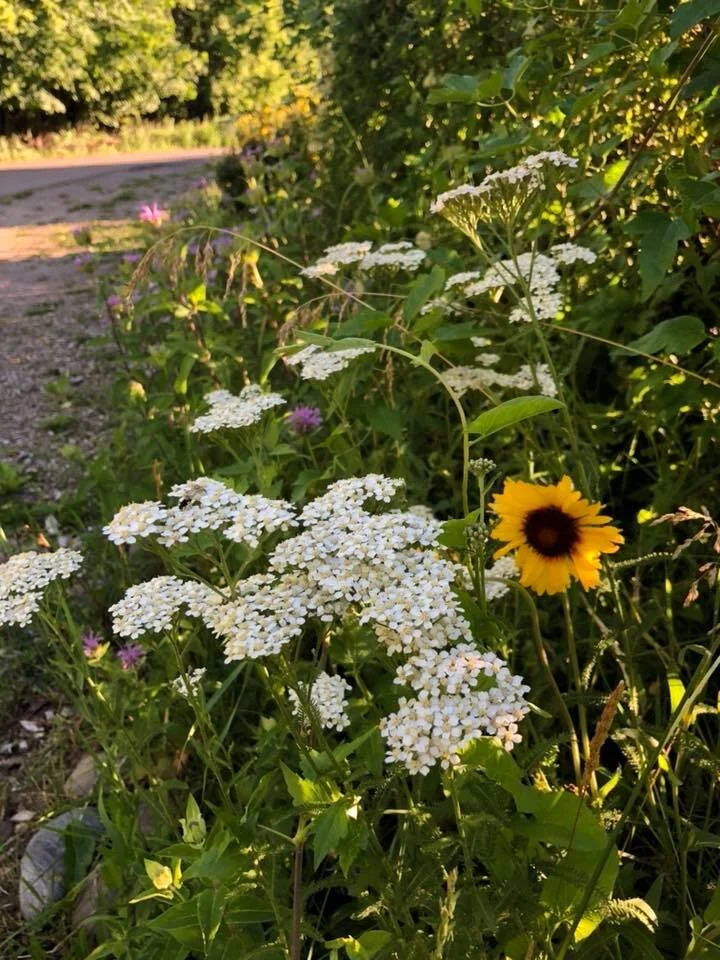
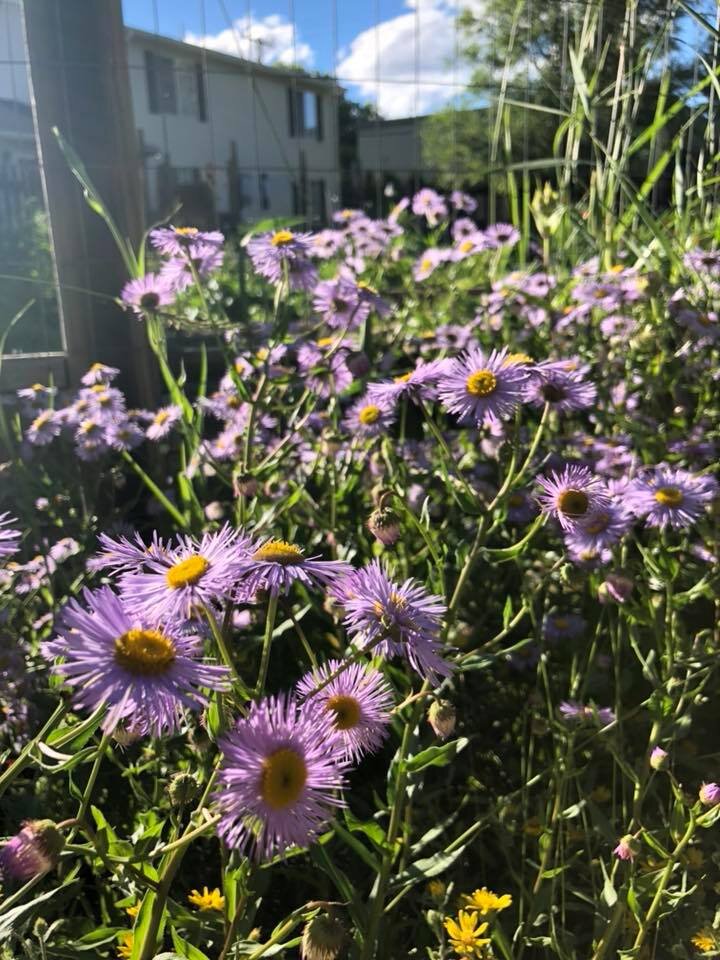
Native Plant Garden - Second Street has a well established and beautiful native garden along the fenceline that faces Second Street. Weeding is always appreciated here!
Trash: The rule is pack it in and pack it out, but inevitably trash ends up blowing around the garden. Spend a couple minutes helping us pick up trash around the garden site.
Need more ideas? Contact your leadership committee - contact info in the shed!
MOST WANTED Weeds
Weeding is a fundamental part of gardening and should be done weekly. If you keep up with it using a hoop (hula) hoe, it should take no more than an hour a week to keep your plot clear of most weeds. If you choose to weed less often, the task will get exponentially more difficult, and you will be on your hands and knees digging out weeds. Keep your eyes out for notices about weeds throughout the growing season. Watch the video tutorials and look at the photos below for weeding tips, and if you have any questions about weeds, please ask!
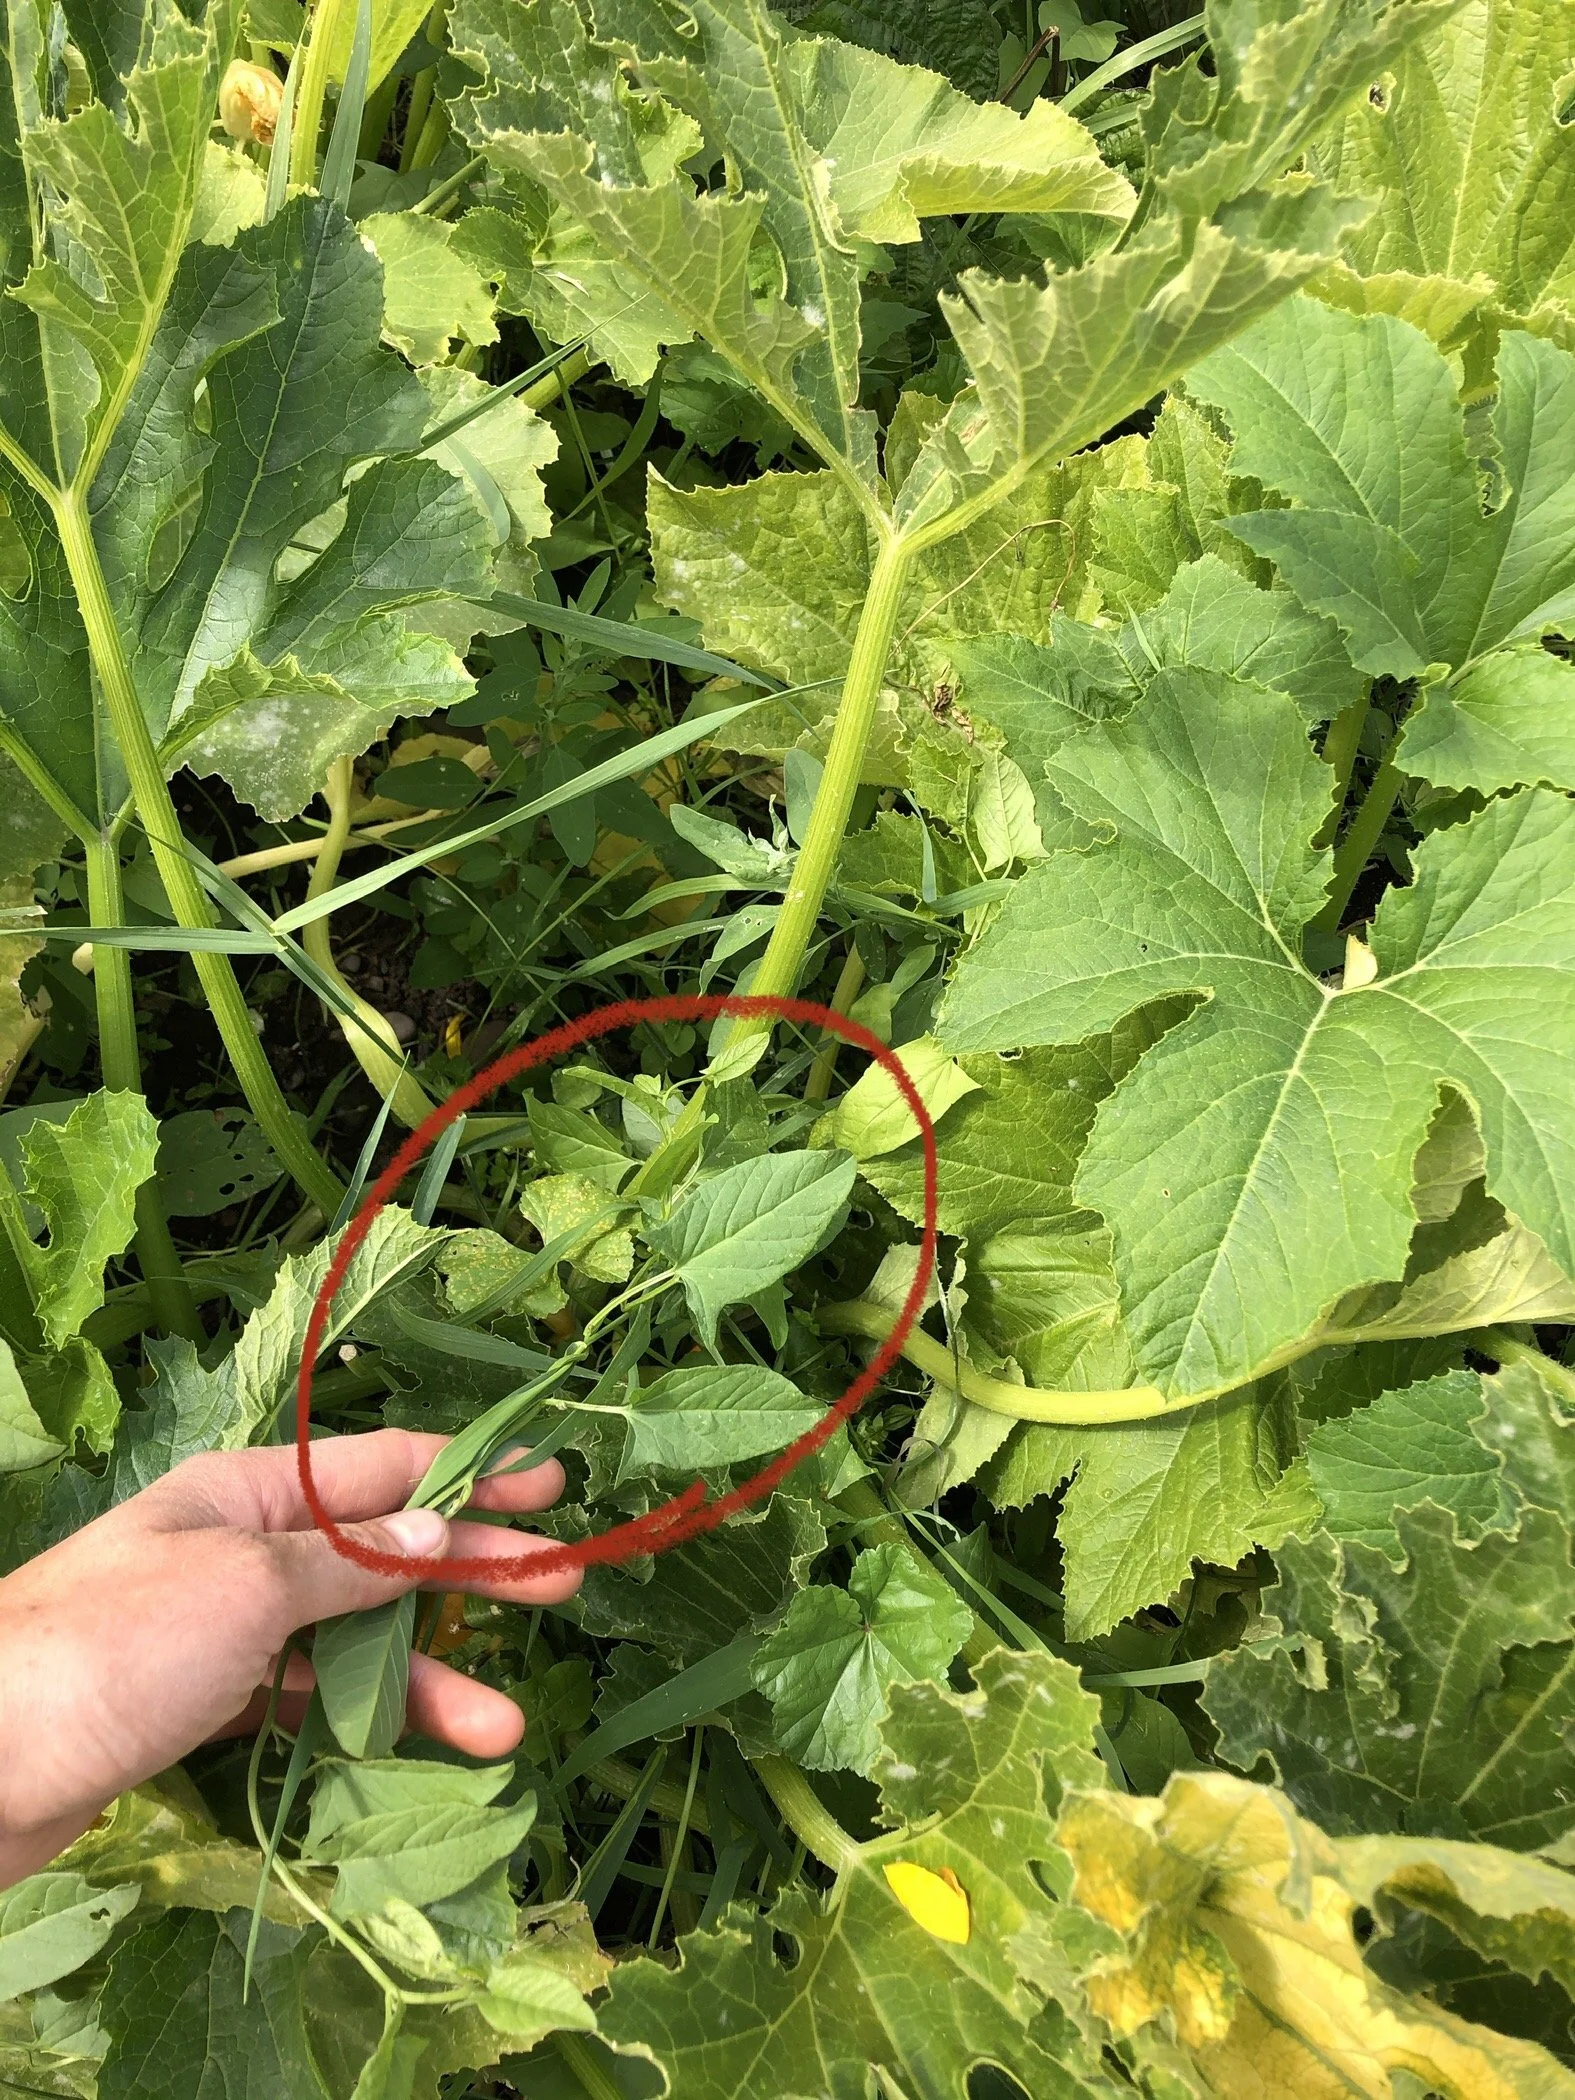
While there are many garden weeds, we have two problem plants on the site - quack grass and bindweed. These weeds should be placed in the weed pile, after you make sure to shake out any clumps of dirt.
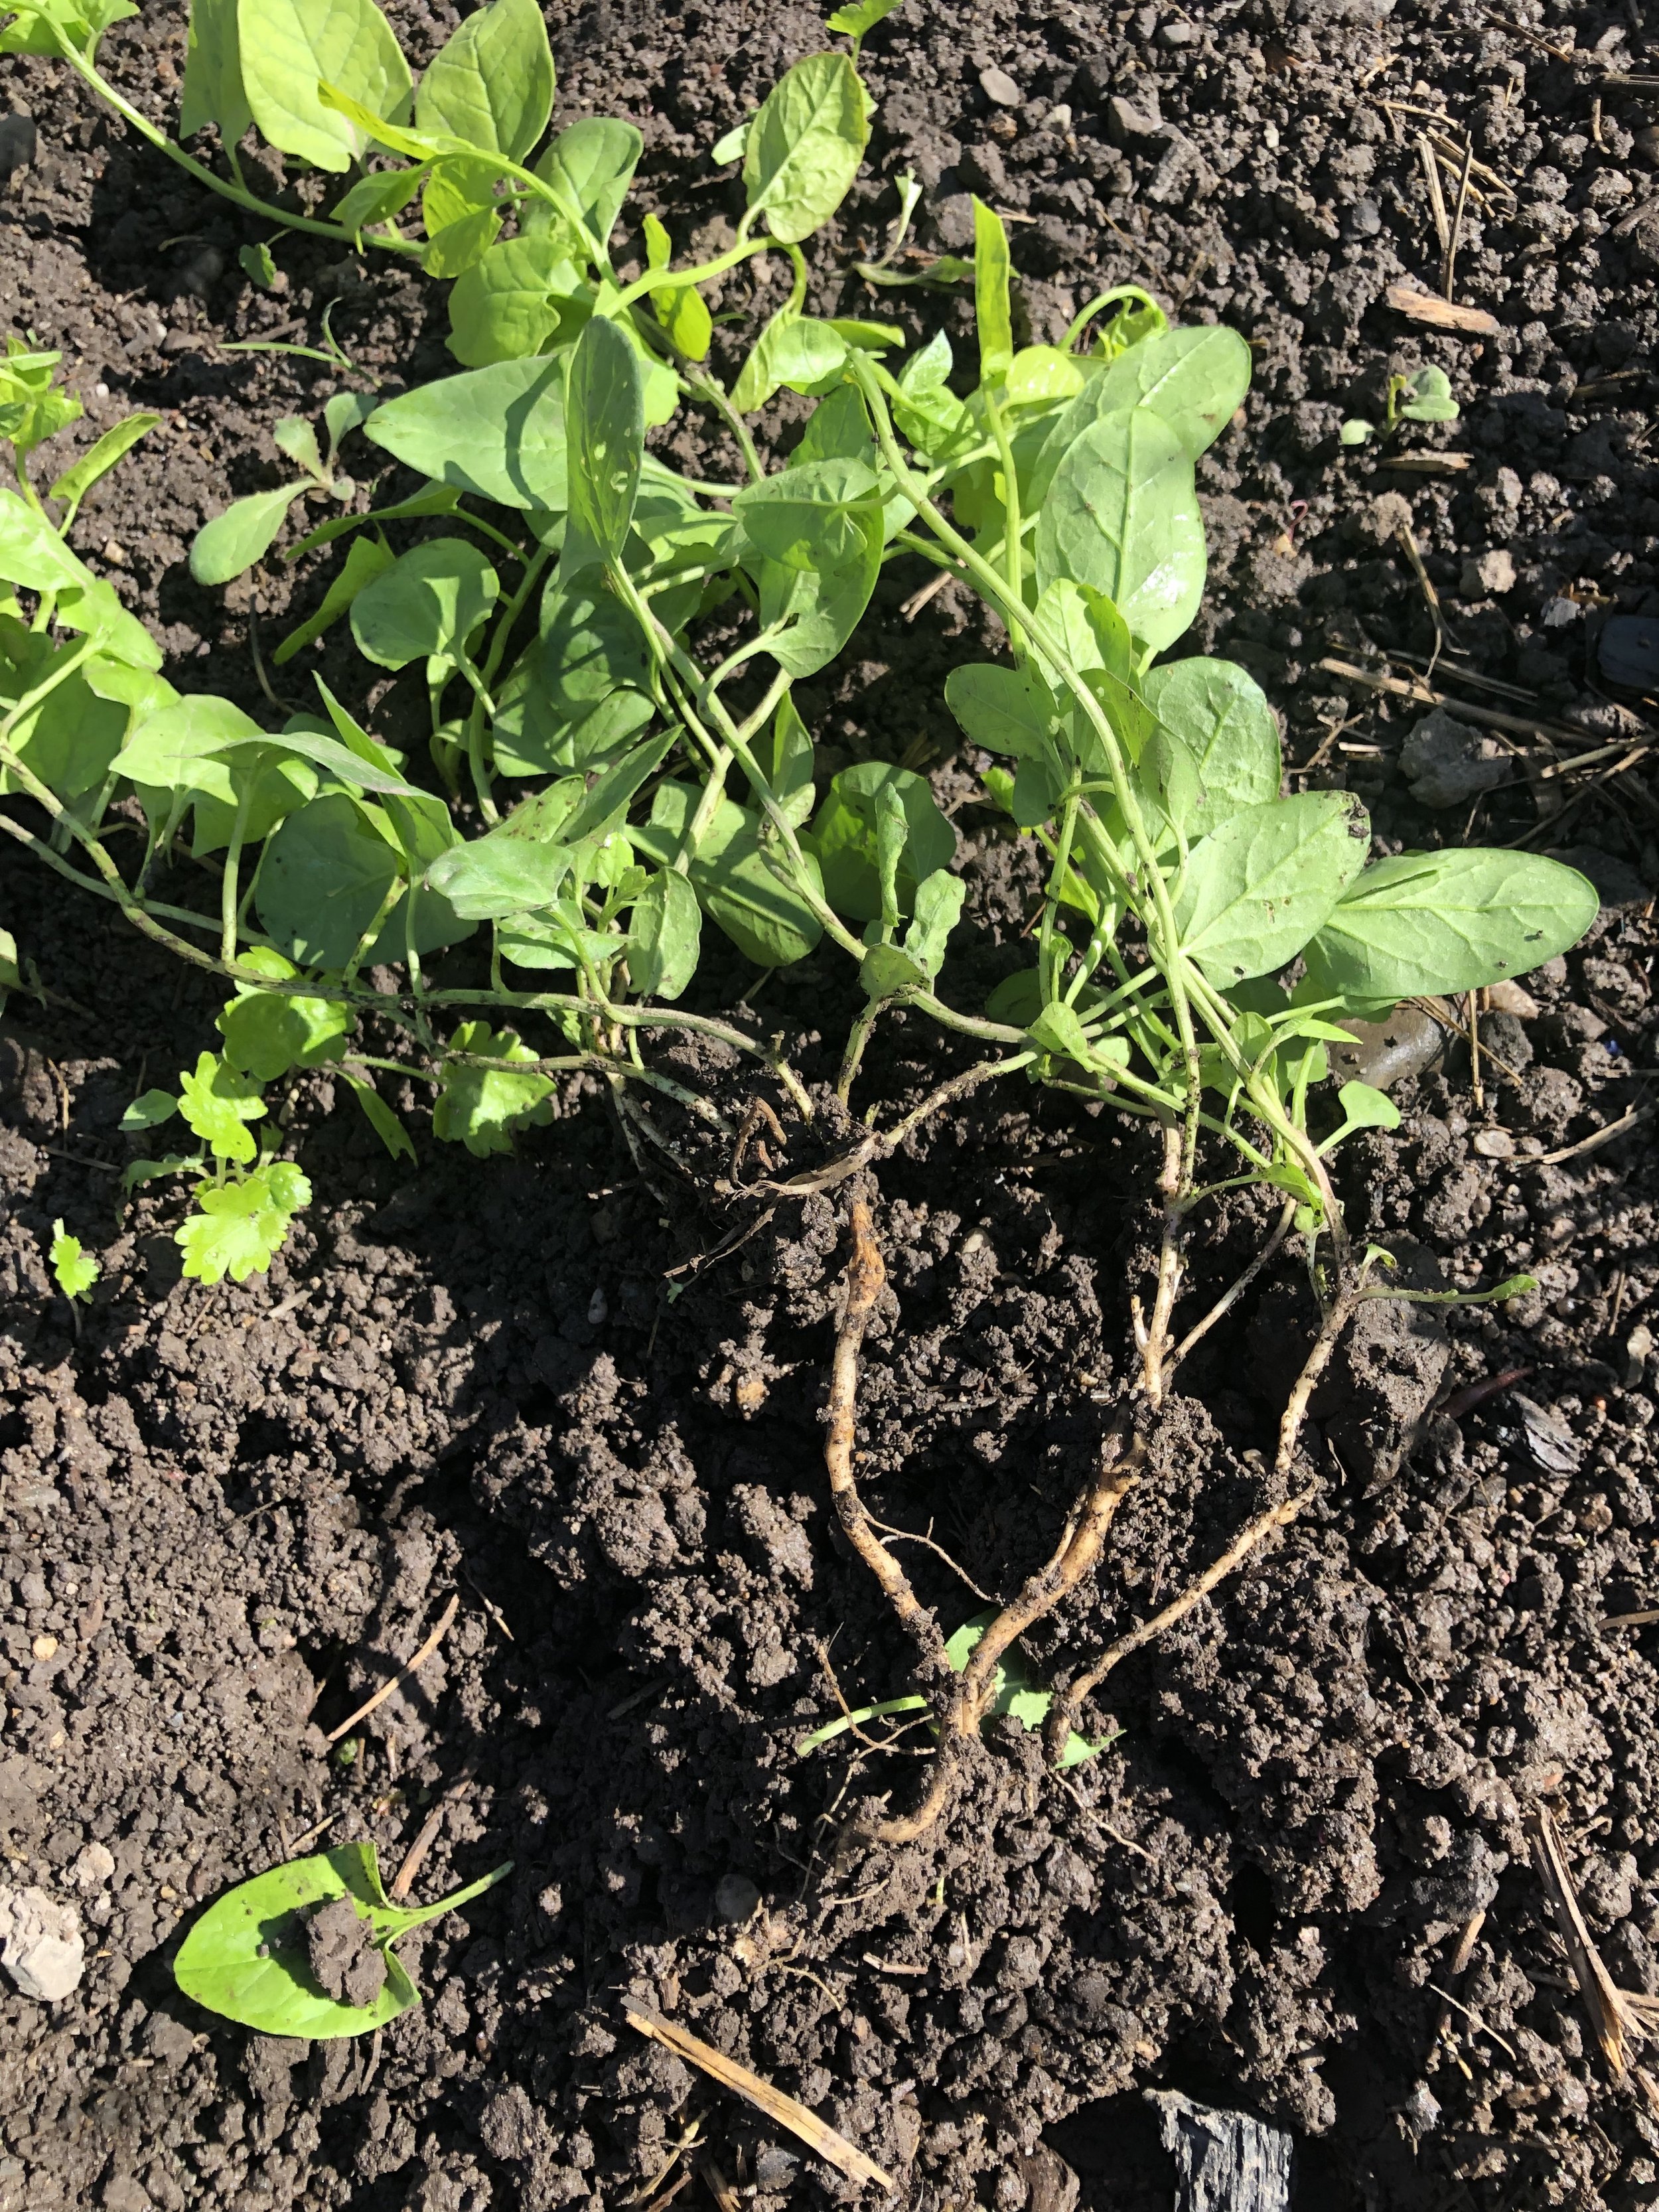
Quackgrass
Quackgrass is grass with white, wire like roots and should be added to the weed pile. Use a digging fork to loosen the soil and make it easier to pull out the roots. Make sure you shake out any clumps of dirt.

The white, wiry roots of quackgrass
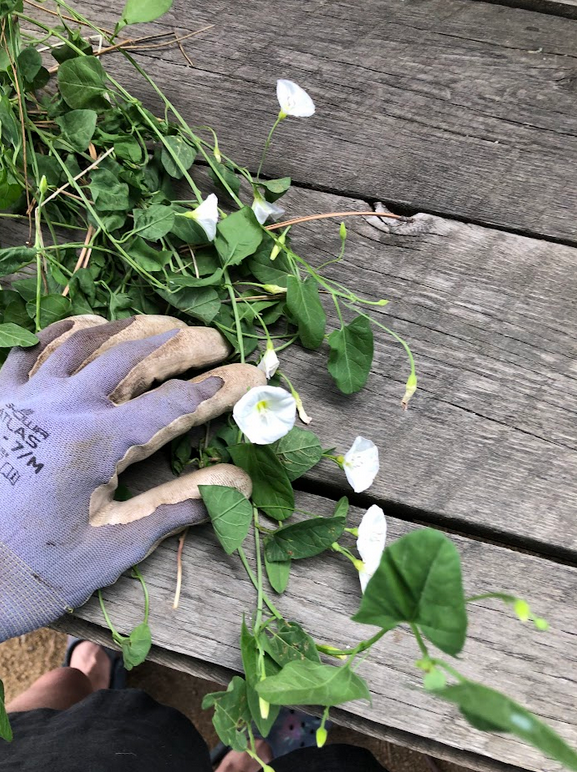
Bindweed
Bindweed is a perennial that is very sneaky. We want you to be able to ID it before it flowers and weed it out. It has arrow-shaped leaves, white flowers, and vines around anything nearby. Put bindweed in the weed pile.