
Solar Dehydrated Veggies
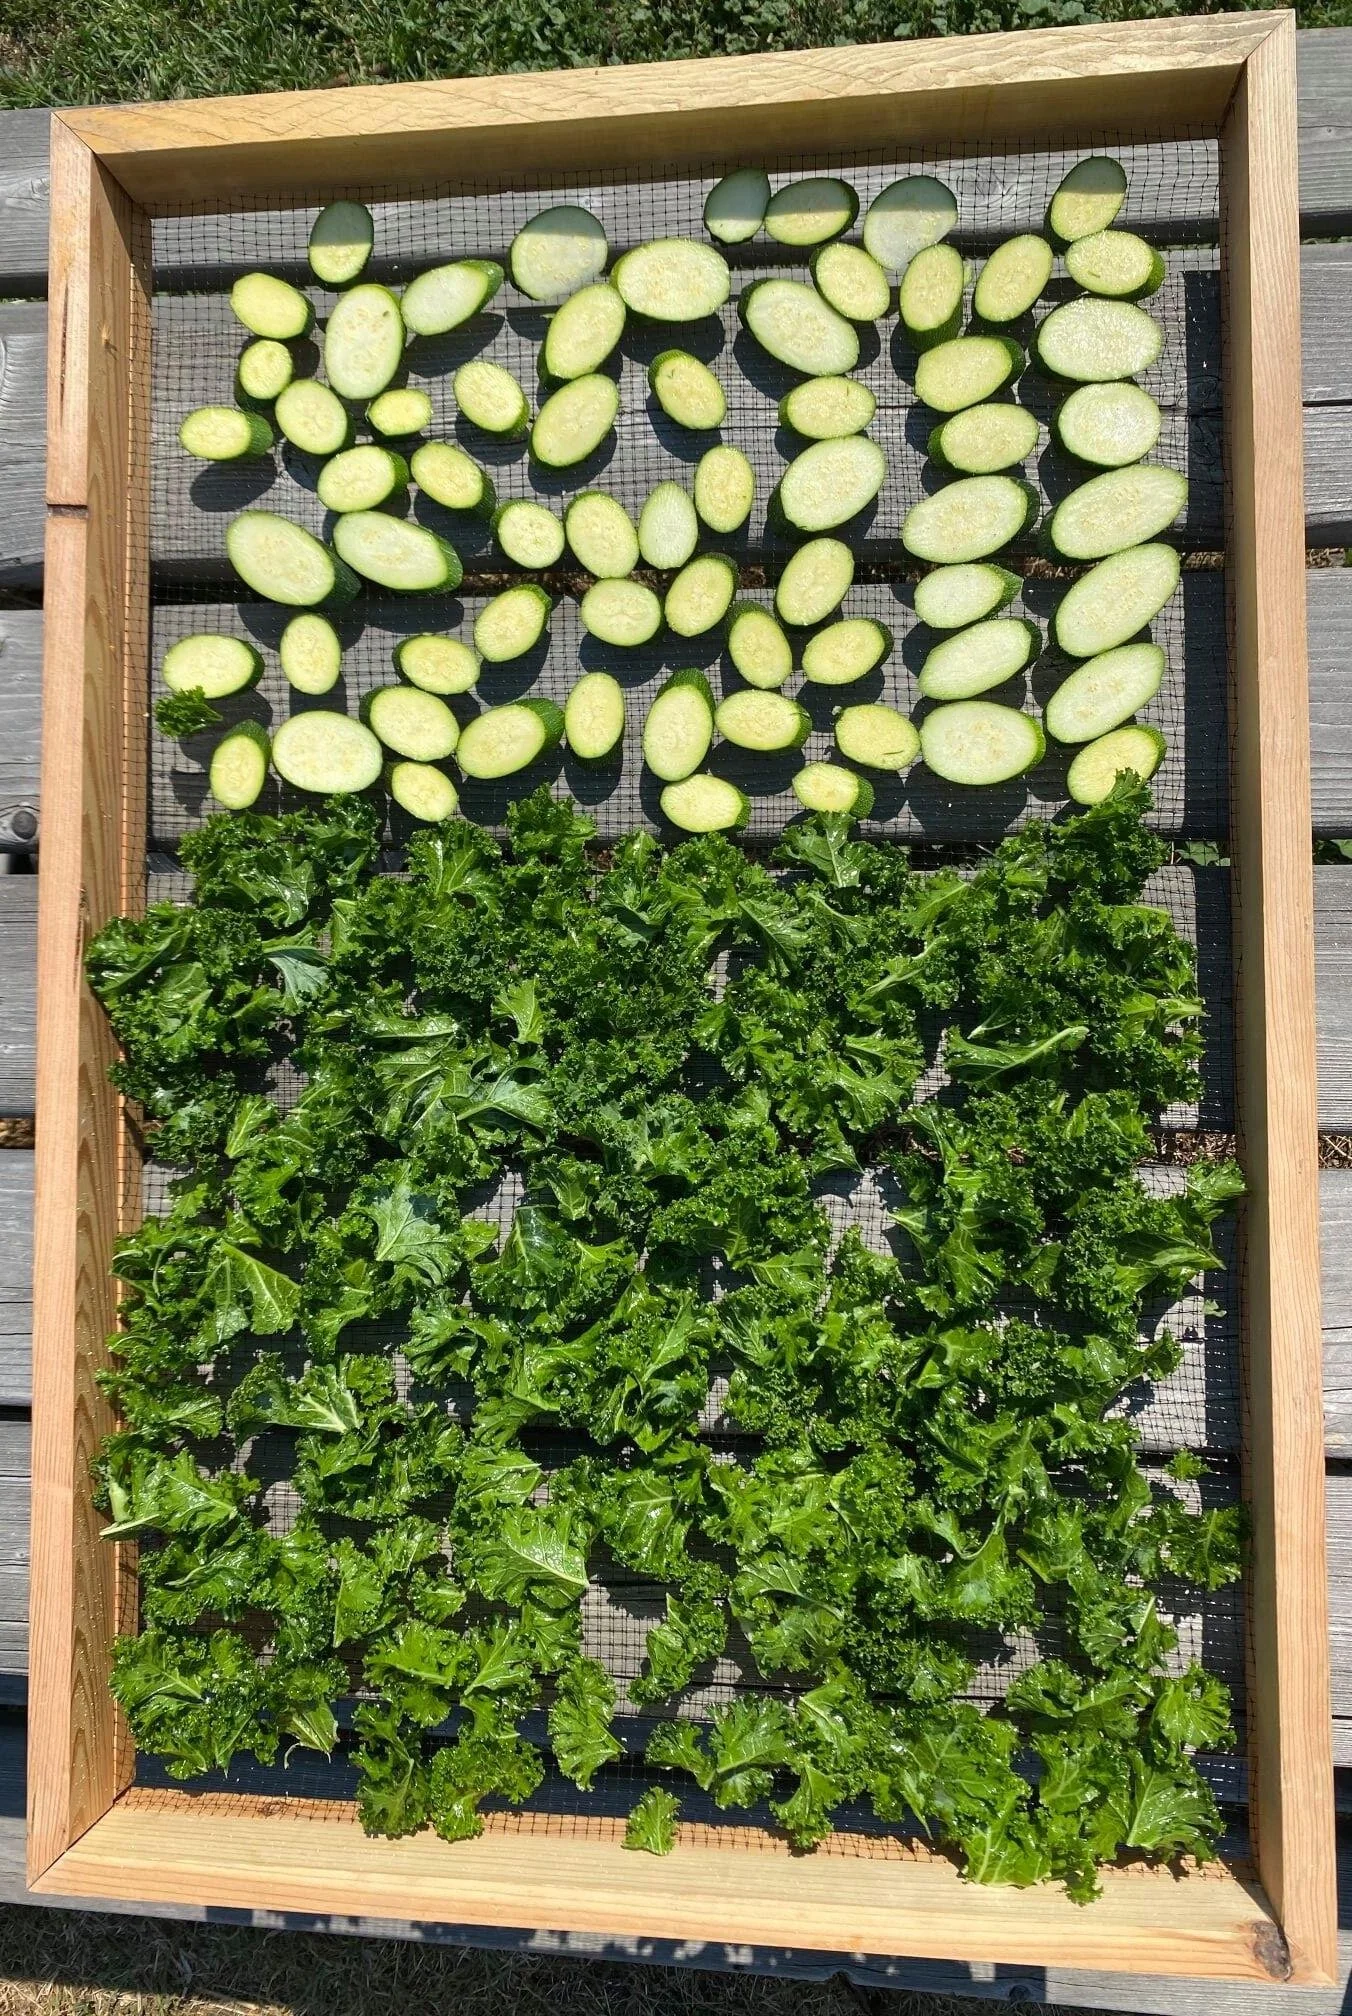
Zucchini and kale ready to go in the solar dehydrator. Photo by Marnie Craig
Garden City Harvest has two community solar dehydrators. One is located at the Northside Community Garden and one behind the main office at the River Road Community Garden. This blog was written by Marnie Craig, a Northside Community Gardener, and is full of delicious recommendations for dehydrating the garden’s bounty!
Today, I cleaned out my refrigerator to make room for the morning's harvest. With more zucchini and kale than I could use, I decided to find out how to use the Northside Community Garden's solar dehydrator. Solar dehydrators use a combination of heat from the sun and vented airflow to dry food so it can be stored for long periods.
What kind of foods can I dry?
We can use these community dehydrators to dry fruits, vegetables or herbs, but no meat products. (Clarification: you technically can use dehydrators to dry meat but because this is a communal source and it can attract animals, we ask everyone to refrain from drying meat in these dehydrators) Some of the vegetables and fruits that grow in Missoula suitable for drying include: carrots, sweet corn, garlic, mushrooms, onions, parsnips, summer squash, peppers, potatoes, green beans, mushrooms, plums, apples, berries, peaches, plums, apples, apricots, pears, tomatoes, bananas, grapes, cranberries and cherries.
How do I prepare food for the dehydrator?
Moisture-rich foods like peaches and tomatoes will take longer to dry than herbs or mushrooms, which may take only a day to dry.
These two simple steps will ensure a successful experience no matter what you are drying:
Slice your fruit and vegetables thinly in a consistent size and shape
Arrange the pieces in single layers on the drying tray so they are not touching and are evenly spaced
Be sure to read and follow the Solar Dehydrator Guidelines posted on the door of the dehydrator to ensure a good drying experience for everyone.
How long will it take for the food to dry?
Dehydrating food is not a precise process. There are a lot of variables to consider, so the best thing to do is experiment and become familiar with the dehydrator.
Check the progress of your food regularly to prevent over-drying
Keep in mind that the upper trays may dry faster than lower trays
Hot and sunny days will make for quick drying
Cooler cloudy days will extend the drying time
How do I know when the food is dry?
Foods need to dry until they are leathery or crisp, while some appear pliable when ready.
Test the dryness of your fruit or vegetable by tearing or cutting a sample
The sample is dry when it no longer beads with moisture when torn or cut
Find delicious dried veggie ideas below!

Yum! These zucchini and kale chips are almost done. Photo by Marnie Craig
Zucchini
Can be dried and used later in pasta dishes, soups and casseroles
Slice into 1/8” thin rounds or strips
Add a sprinkle of salt before drying for a healthy substitute for tortilla or potato chips
Tomatoes
Can take up to three days to fully dry
Line the drying trays with parchment paper to catch drips
Slice meaty tomatoes into 1/8-1/4” slices and arrange in single layers, or…
Cut small meaty tomatoes in half, remove the juicy seed cavity and place the halves skin side down
Slice cherry tomatoes in half and arrange skin side down
Here are a few ways to use dehydrated tomatoes - besides just eating them as a tasty snack!
Hot peppers
Drying time will depend on how thick the pepper walls are
Cut hot peppers in half to shorten drying time
Arrange skin side down
Sweet Peppers
Take longer to dry than hot peppers
Cut sweet peppers into thin, consistently sized strips
Add to soups or re-hydrate and add to salads, pasta salads, etc

Yum! Solar dried kale chips! Photo by Marnie Craig
Kale
Can be dried and added to soups and casseroles, or for kale chips.
Wash and tear kale from the stems as you would for any kale dish
Arrange kale in a single layer on the drying rack
For kale chips, drizzle torn or cut kale with olive oil and toss to cover it evenly
Arrange in a single layer on the drying rack and add a sprinkle of salt or other spice
Herbs
The possibilities are endless: dill, mint, oregano, basil, parsley, rosemary, and more!
Simply lay the leaves out, evenly spaced
Read more about the solar dehydrators and see the design drawings here.