
5 Steps to Plant Garlic This Fall
Step 1: Pick Your Garlic: Hardneck or Softneck?

Hardneck vs Softneck
Hardneck Garlic
- Best for: Cold climates (like Montana)
- Produces: Garlic scapes in late spring (edible flower stalks)
- Cloves: Fewer, larger, and easier to peel
- Storage: 4–6 months
Softneck Garlic
- Best for: Milder winters, but still grows well in Montana with care.
- Produces: More cloves per bulb; smaller and harder to peel.
- Best for: Long-term storage and decorative garlic braids.
- Storage: 8–12 months
step 2: prepare the bed
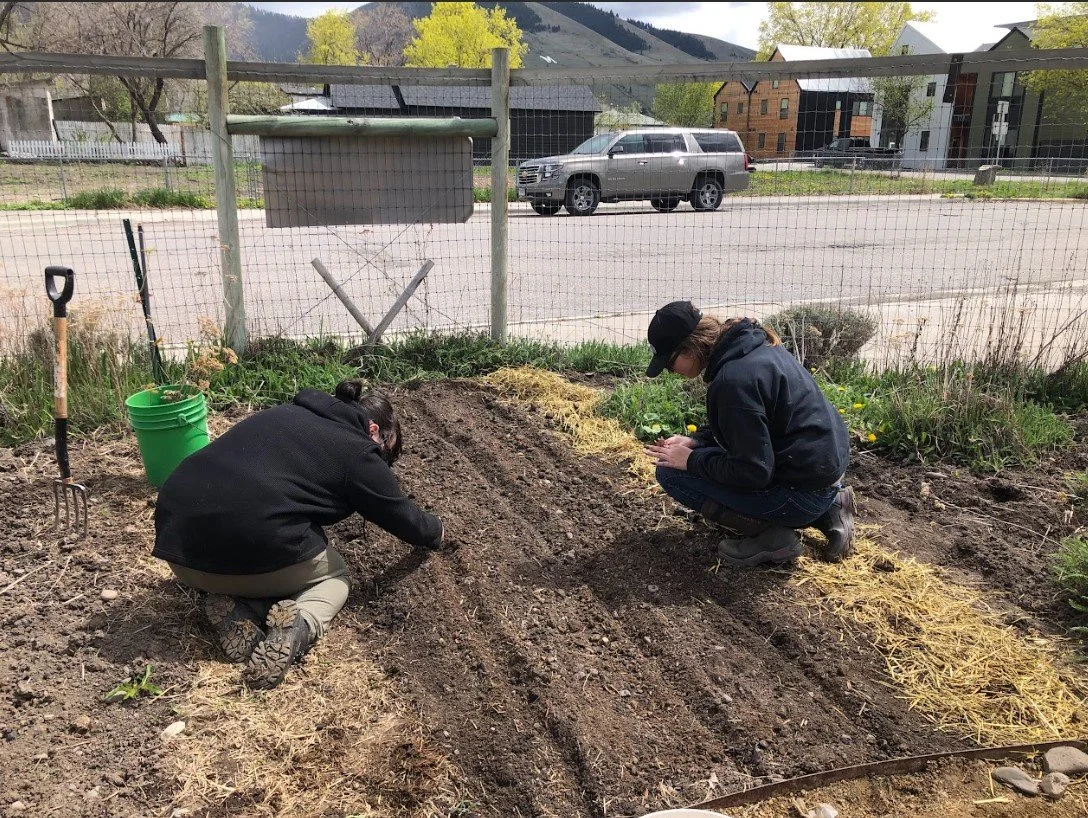
Feed your soil
Garlic is a heavy feeder, so preparing the soil before planting is crucial for a healthy, productive crop.
- Amend the soil with rich organic matter like compost, manure, or worm castings to give garlic the nutrients it needs through winter and into spring.
- Practice crop rotation—avoid planting garlic in the same spot where garlic or other alliums (like onions) have grown in the last 2–3 years. This helps prevent soil-borne diseases and nutrient depletion.
- Avoid White Rot ( Click Here To Read more).
Step 3: Sort Cloves

Choose the Biggest & Healthiest
When planting garlic, we use individual cloves, not whole bulbs. Garlic reproduces asexually through cloning, so the quality of what you plant directly impacts what you harvest.
- Choose the largest, healthiest cloves.
- Avoid small, shriveled, or moldy cloves.
- Select cloves with traits you want to continue in your crop.
Step 4: Plant
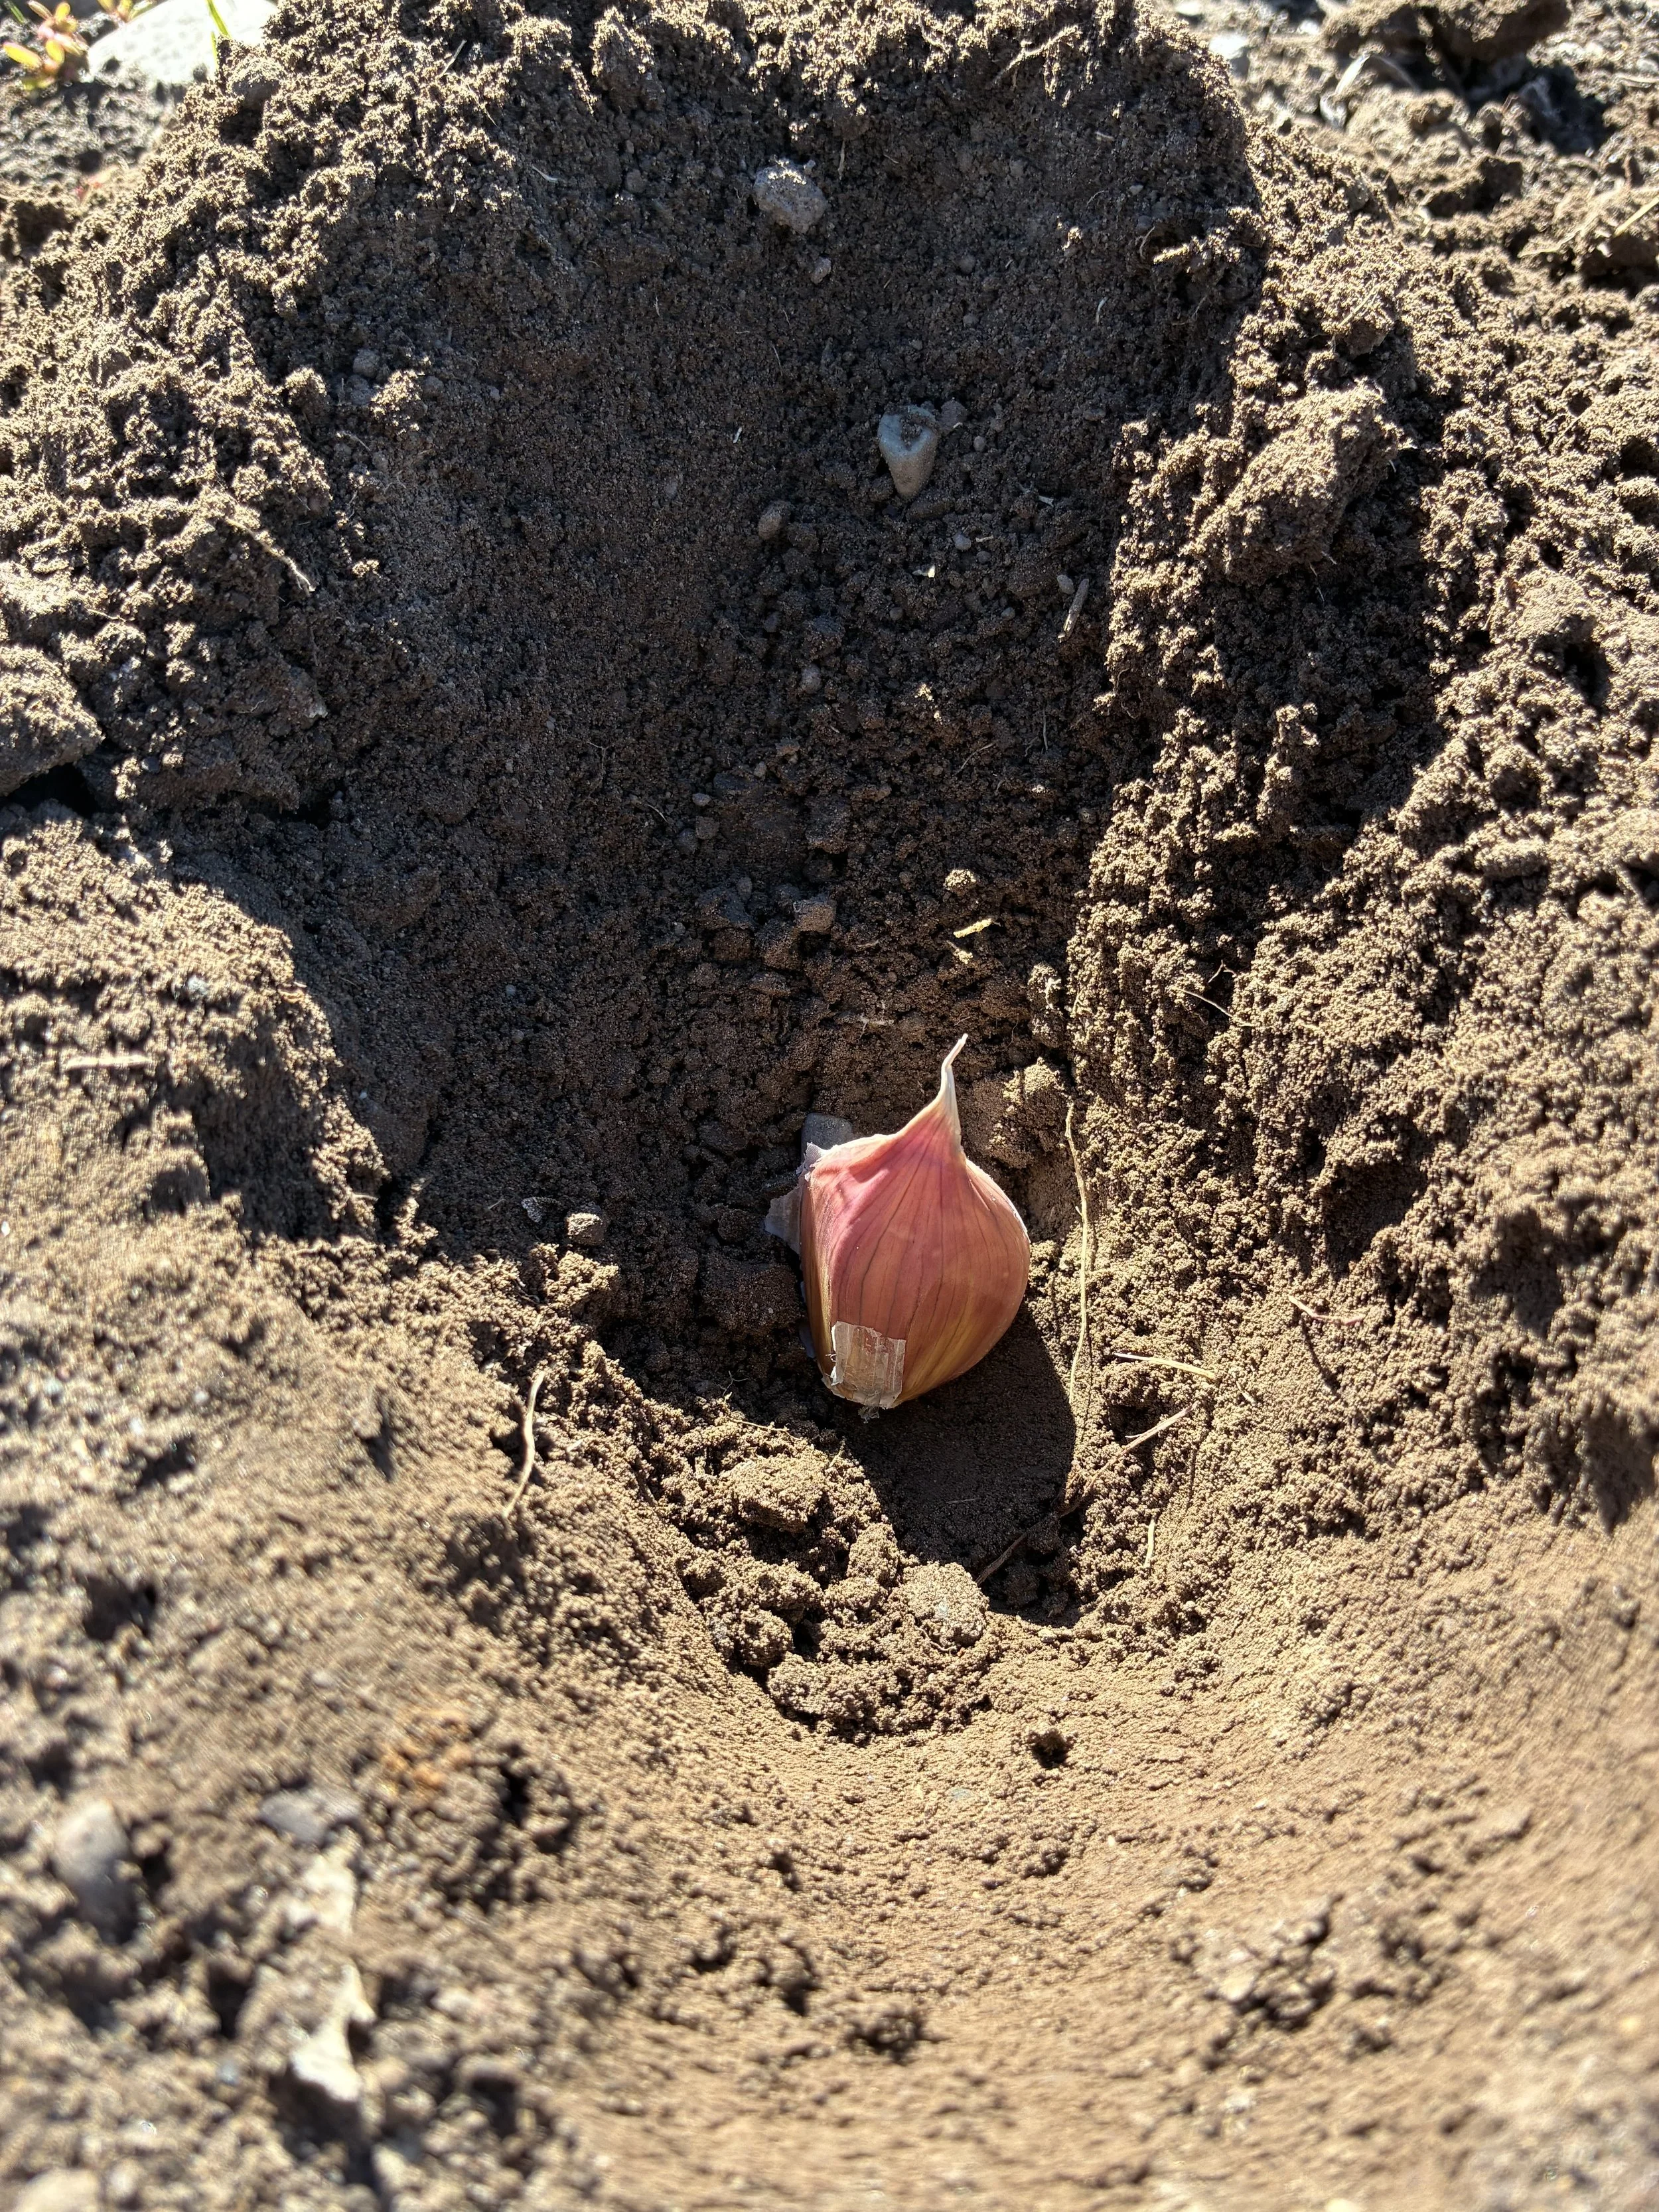
Planting: How to?
- Plant garlic before the ground is completely frozen. In Missoula Montana this means around mid- late October.
- Plant cloves 2 inches deep, with the root end down and the pointy end up.
- Space cloves 4–6 inches apart, with rows at least 6-12 inches apart to give each bulb room to grow.
Step 5: mulch and Cover

Tuck it in for Winter
- Mulch with 4–6 inches of straw, or a mix of straw and dried leaves.
- This layer helps insulate the garlic over winter and suppress weeds in early spring.
Other Resources
Planting, sourcing, and Harvesting : Growing Big Beautiful Bountiful Garlic