
Broth: not just for the tummy troubles
It is the dead of winter. There’s no more figgy pudding, the stored vegetable stores are starting to run low, and the light is still in short supply. I got fed up with my snow boots the last week and braved the snow in clogs. Winter be damned! Somehow, this was my rebellion against the endless layers and tense muscles that old man winter demands.
All I got was wet feet.
It’s times like this that require a little broth. There are many benefits to a cup of bone broth, including some protein, gelatin, and glycine (the last two are good for your gut!). It’s a great thing to drink daily. Even if you don’t care a fig about the nutritional benefits, bone broth is a building block for so many recipes, that having it on hand is so handy. Buying it is expensive, and it is easy and quick to make at home. Plus, it saves you some bones! It will certainly make your day a little warmer, and that’s really saying something.
The difference between stock, broth and bone broth:
Broth — Broth cooks 45 minutes to two hours and usually uses meat, and perhaps some bones. The flavor is light, and it is generally not drunk on its own but instead used as a building block.
Stock — Stock and bone broth are similar in their ingredient lists, but differ greatly in the time they are cooked. They both always include bones, according to the definition, however a stock is typically cooked three to four hours and bone broth typically 12 – 24 hours. A note on vegetable stock: essentially, vegetable stock and vegetable broth are the same. The difference is how you use them in the end. (Will it be an ingredient of a larger dish? Stock. Will it be drunk on its own? Broth. )
Bone broth — Bone broth is always cooked with bones, and cooked for a long time (12 – 24+ hours). Some add vegetables, some do not.
Where to get bones:
Direct from the farmer (Lifeline Farm, Jamie’s Naturally Raised Grass Finished Beef, Oxbow Cattle Company, Manix Family Grass Finished Beef. . . Check out AERO’s Abundant Montana directory) — try the winter and summer farmers’ markets in Missoula, too. You can get a large amount and freeze them. You’ll need around 2 lbs of bones per 64 oz batch.
At a local natural food store —if you don’t see them on display, ask the meat department if they have any soup bones you could purchase. They’re usually very cost-effective.
You can keep a bone bag in the freezer, and put your chicken carcasses, ham hocks and other pork bones, and beef bones in there until you are ready to make some stock. A mixture of bones gives a wider flavor profile.
Make it without wasting all those veggies!
You can make bone broth without any vegetables (well, you always use the garlic). However, if you want the flavor vegetables offer, just start collecting your vegetable scraps. I’ve recently started keeping a bag in my freezer for my vegetable scraps. Any time I prepare a meal, I put the discarded ends and peelings, etc. in the bag for my next broth making venture.
Vegetables to keep — the basic aromatics are what I typically use (carrots, onions, celery) — they give a good base to work from. However, once I started staving scraps, root vegetables, stalks, leaves, tops, ends, peelings. Kale and chard stems, bell pepper cores, green beans/string beans, mushroom stems, herb stems. I put the garlic and onion skins in, though I’ve read that onions skins, along with beets, will turn your broth dark brown, so it’s more of a cosmetic thing. If you have some veggies that are about to turn (but haven’t yet) or are a bit dehydrated, this is a great use for them!
Vegetables to send packing — cabbage, broccoli, cauliflower, Brussels sprouts, (all from the brassica family, which has a certain odor you don’t want in your stock/broth), turnips and rutabagas (those are two roots to avoid). And of course, rotten spots and moldy veggies are also not a good idea.
How to make it
I prefer to make bone broth in my slow cooker. It is an Instant Pot so it can hold up to 64 oz, which is key for this recipe. If you are in the market, I can’t say enough about this one, it’s made of safe, stainless steel, it’s big, and can pressure cook, make yogurt, and rice. Anyway.
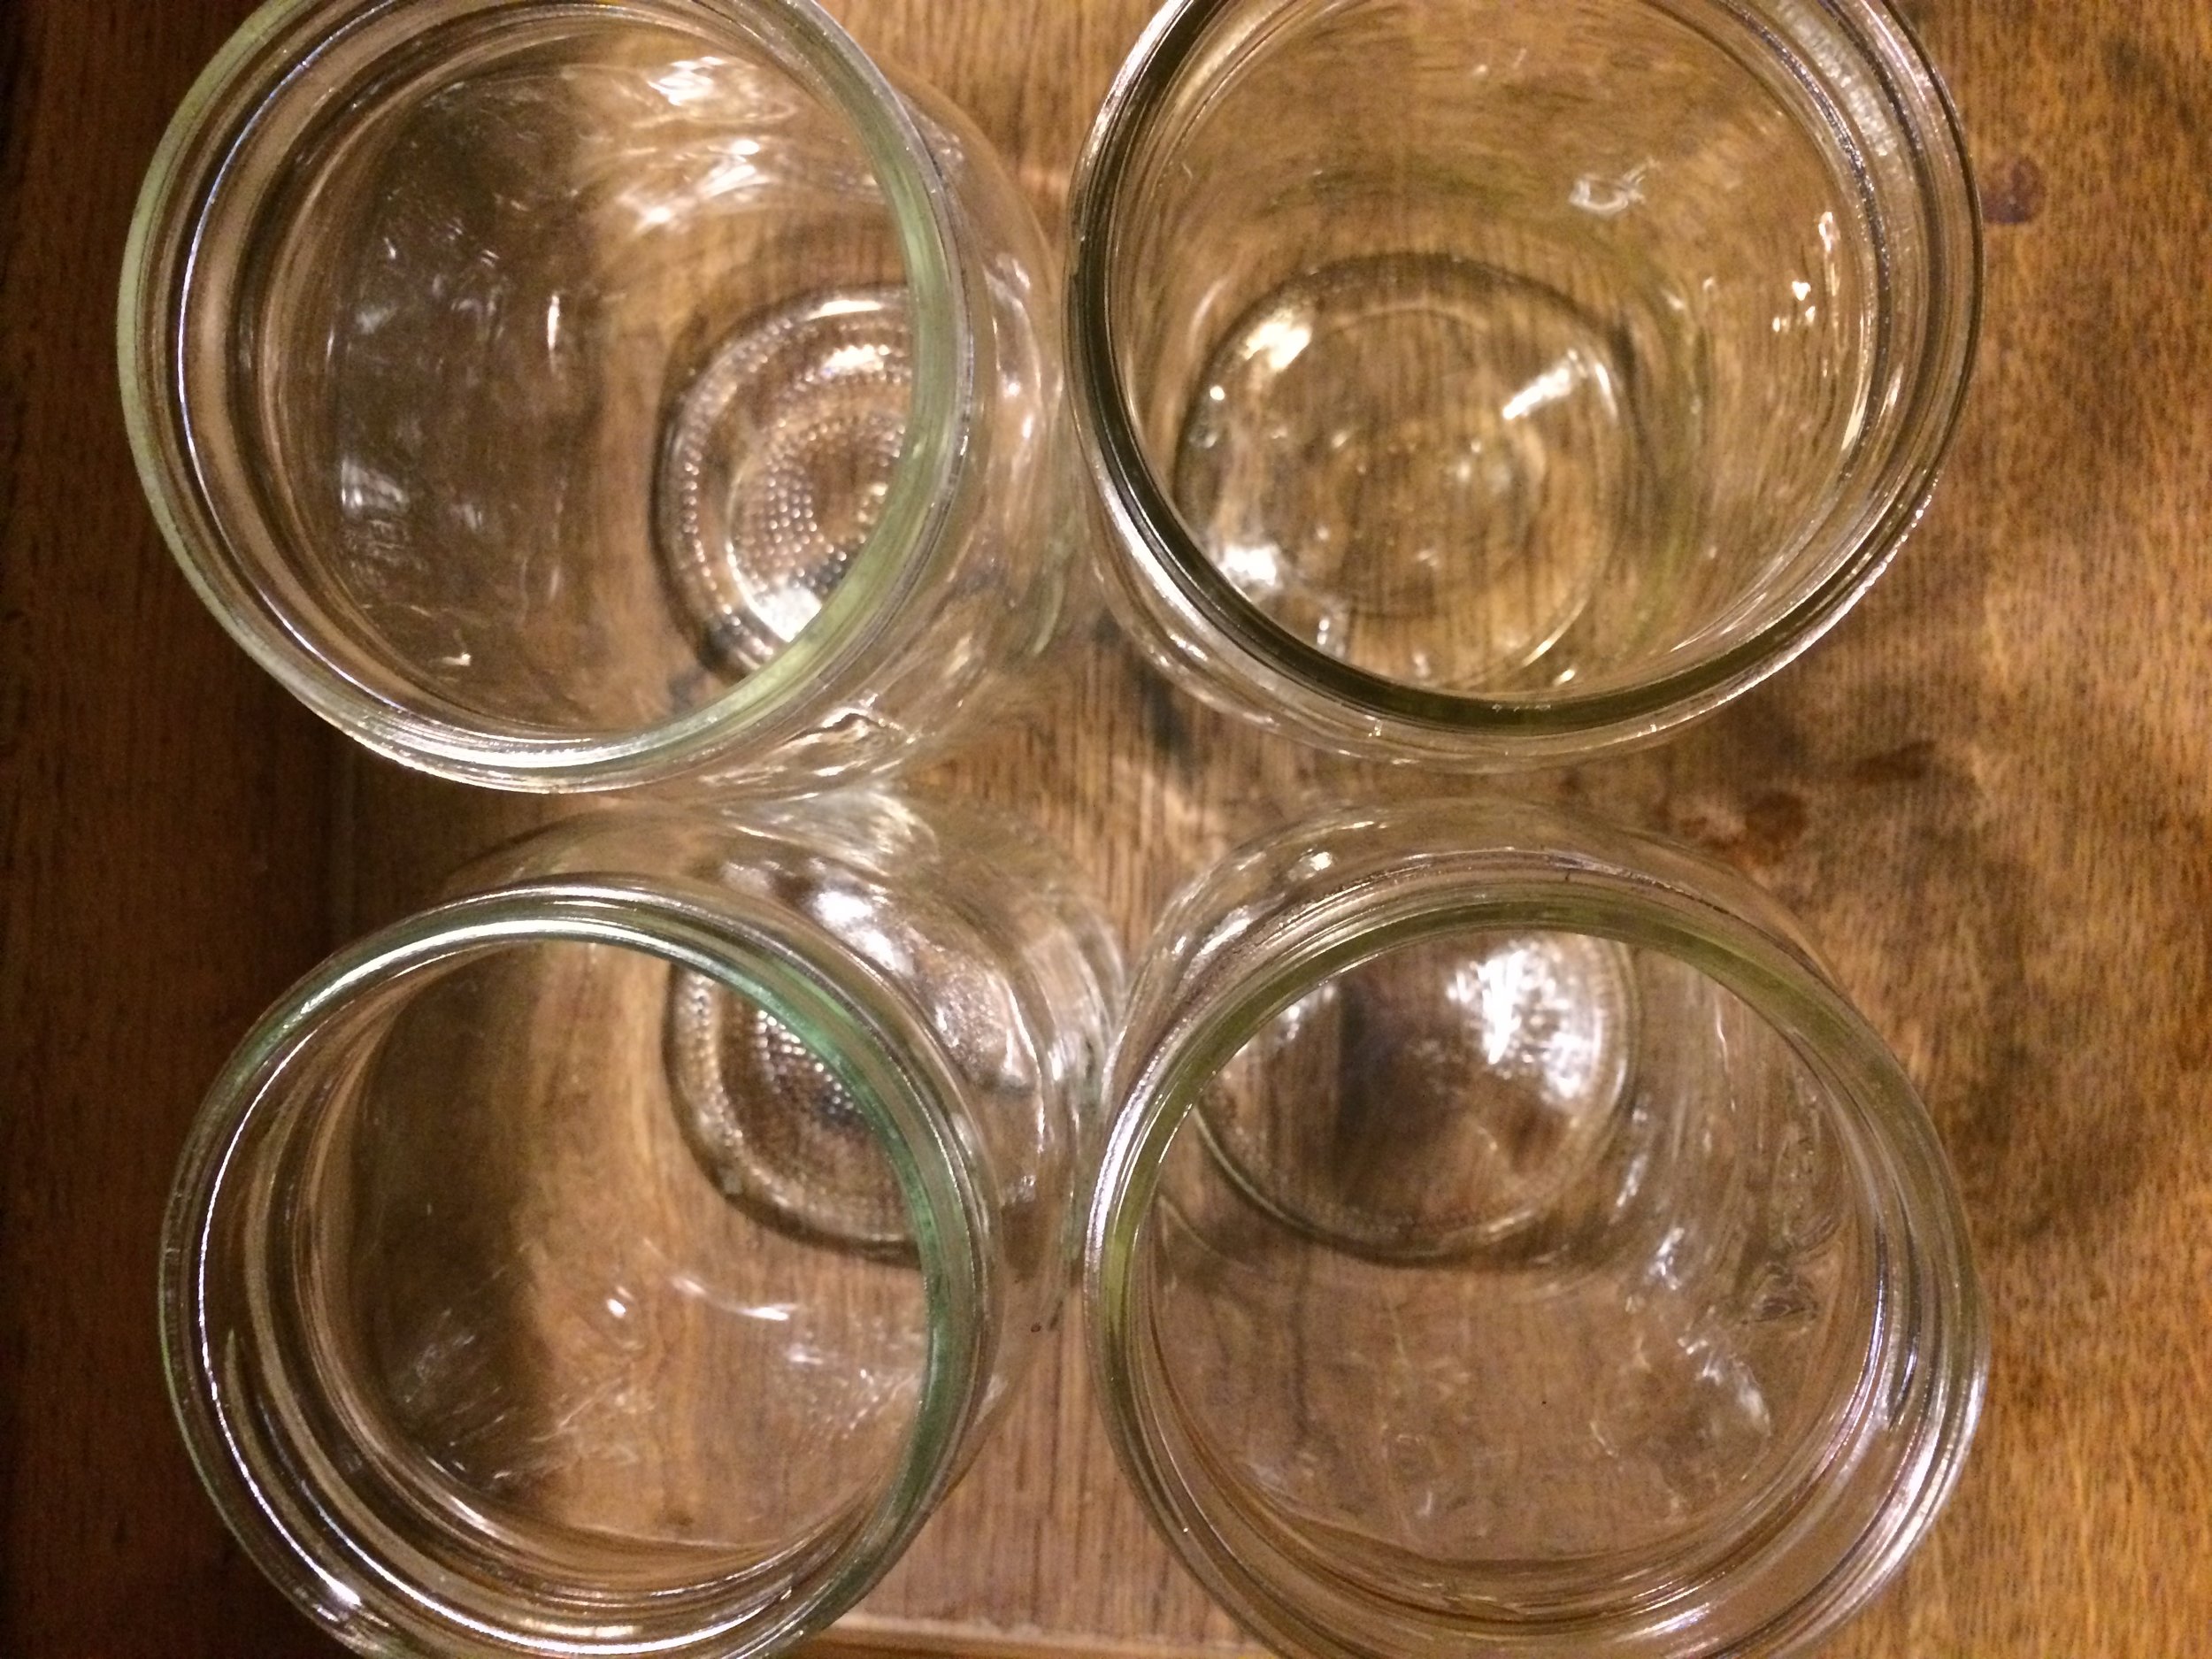
This makes 4 full quart sized mason jars.
I got the bones (I used beef bones this time) and vegetables scraps out of the freezer, and dumped them in.
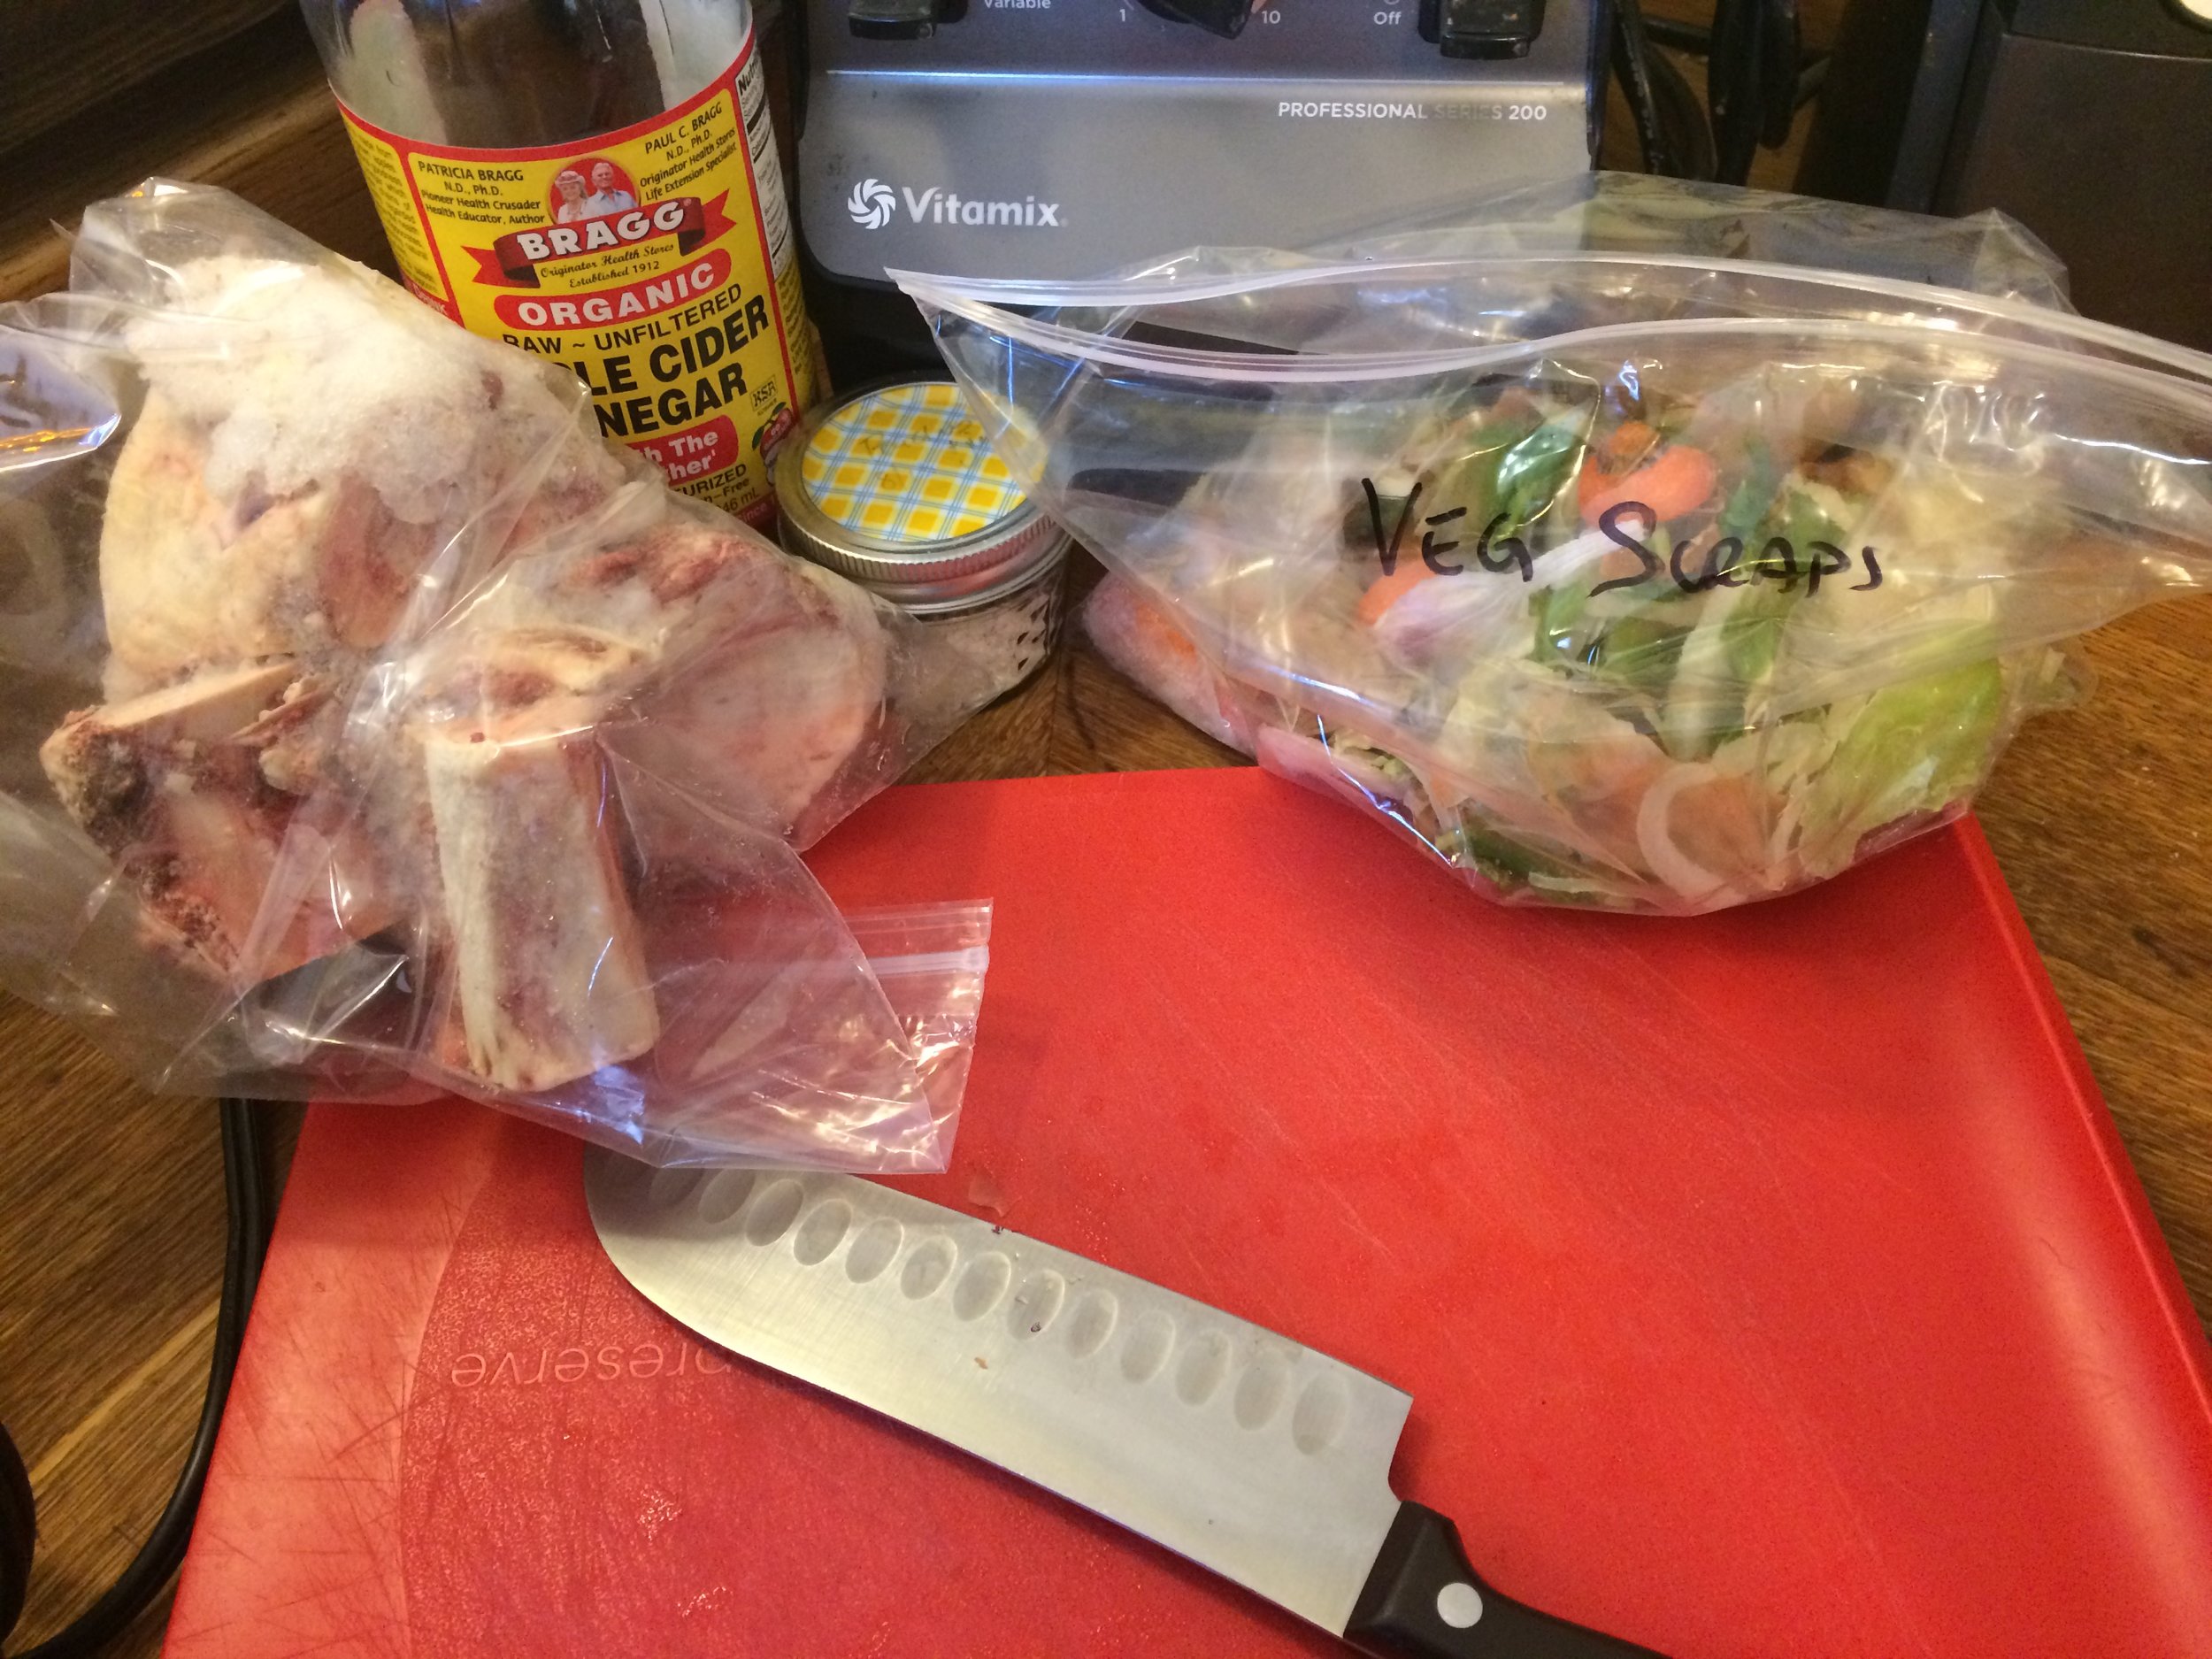
On top, I poured the apple cider vinegar and salt. I added a whole head of garlic, just smashing each clove between my knife and the cutting board before adding. I poured water to the max fill line in the slow cooker.
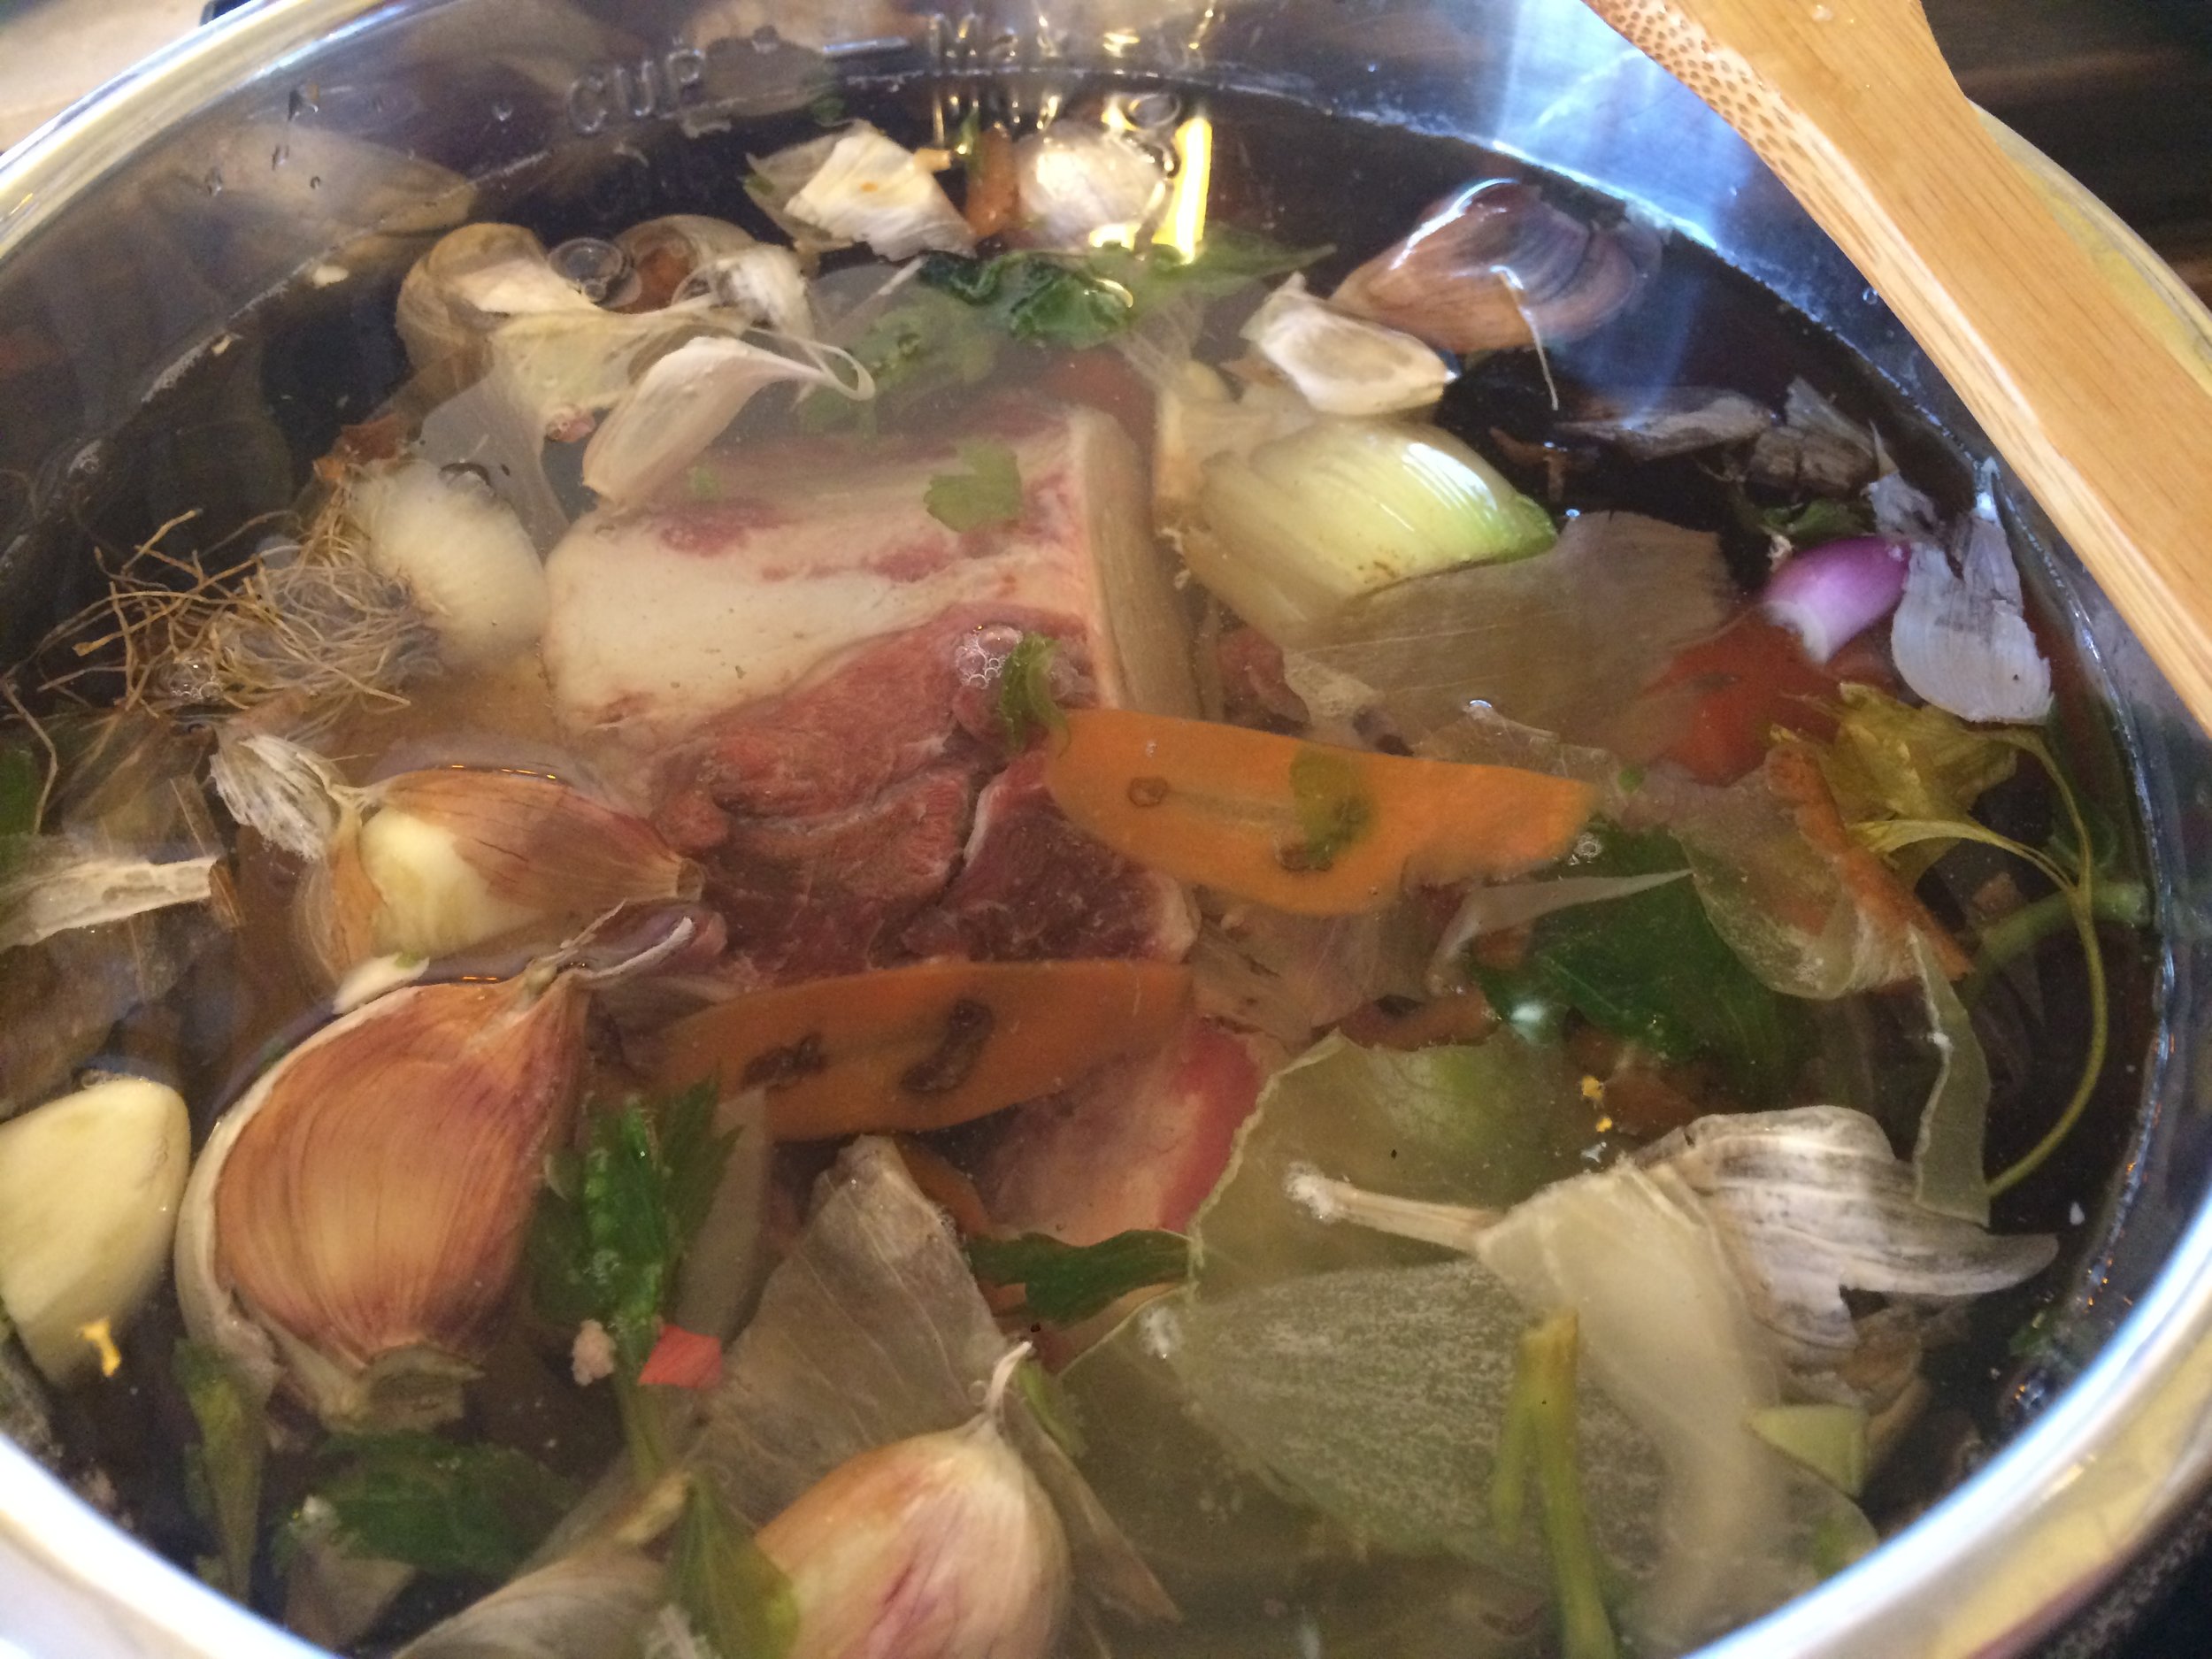
After that, all I had to do was stick the lid on, and put it on high until it came to a boil. Then, I turned it to low, and cooked it for 12 hours.
Here’s the beautiful elixir:


Other notes:
Cooking time: Some say the vegetables will become bitter if you cook them longer than 12 hours. The longer you cook the broth, however, the better for you it gets. I often cook it for 24 hours without a problem, but if you are concerned about bitter broth, just scoop out the vegetables at the 12 hour mark and keep on cooking. Or skip the vegetables and just use water, vinegar, bones, salt and garlic (that doesn’t get bitter). You can also check doneness by taste and smell. This batch tasted perfect at 12 hours, so I didn’t have to worry. You know you’ve gotten all the nutrients out of the bones when they are starting to crumble at the edges.
Stovetop or oven: You can also do this on the stove top or in the oven. You want to bring it to a boil, then reduce the heat so that it is simmering in such a way that a tiny bubble trickles up every few seconds. Same cooking time (12 – 24 hours). For the oven, bring to a boil on the stove, then place in a 200 degree oven.
Storage: You can keep it in the fridge for 4-5 days, then it’s time to freeze. I like to either freeze in an ice cube tray or small baggies. Remember to label the baggies so you know how many cups are enclosed, and when you made it.
Roasting the bones for flavor: This is a great idea if you have time and want to bring out a richness in the bone broth, but easily skipped for simplicity. Coat the bones in a high heat oil (I usually use a solid fat like lard, bacon grease, or duck fat) and distribute them in a roasting pan. Roast at 400 degrees for around an hour.
To drink on its own: add your favorite herbs (fresh or dried), or just a little garlic and salt.
Recipe
This recipe is designed to make 64 oz of broth. Make sure your soup pot or slow cooker has the capacity.
Ingredients:
- Whole head of garlic, broken apart and each clove smashed (leave skin on)
- 1.5 – 2 lbs stock bones (can use chicken, beef, or pork bones)
- Vegetable scraps (optional)
- Bay leaf (optional)
- 1/3 cup apple cider vinegar
- 2 teaspoons salt
- Water
How to:
Combine the bones, vegetable scraps, and bay leaf. Pour the salt and apple cider vinegar over the top. Add water until you reach the max fill line in your slow cooker or soup pot.
Bring the water to a boil, then cook it for 12 – 24 hours. The longer the better. Remove or skip the vegetable scraps if you cook it longer than 12 hours. Let cool and refrigerate or freeze.
If this bone broth doesn’t do it for you, then try this quick video. There are places in Alaska where they only get minutes or an hour of sunlight some parts of the year. And start garden dreaming: sign up for a community garden plot or CSA share!